

- Jul 6, 2021
- 3 min read

Learn how to create these toadstool mushroom hats from recycled cardboard, we used a large cereal box. Using easily accessible materials from your recycling bin means that you won’t need to buy the materials and can create an eco-friendly craft.
These are fun to wear as Halloween costumes or everyday play! We had fun wearing them out on a nature walk, they are surprisingly comfortable too, Search for mushrooms, or have fun picking wildflowers wearing them.

These are easy to paint for all ages because of the one red colour, and once that dries add the dots by tracing a mason jar lid! It will make the perfect circle for you.


Materials:
Cardboard from a large cereal box - thin cardboard
White and red paint (washable or acrylic)
Painter’s palette
Scissors
Glue - white glue or a glue gun
A pencil
Water in a glass jar to clean the brushes
Paint brush - medium sized

Slideshow Steps of the smaller version, for the larger one, follow the steps below.


STEPS:
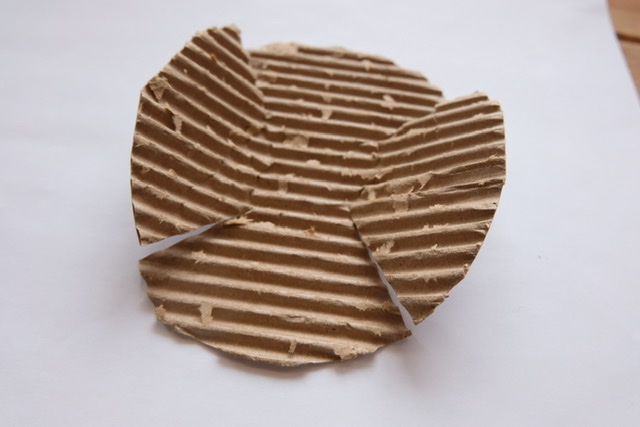
These steps show the corrugated cardboard, you can use that kind to create the gills or use cardboard from a large cereal box.
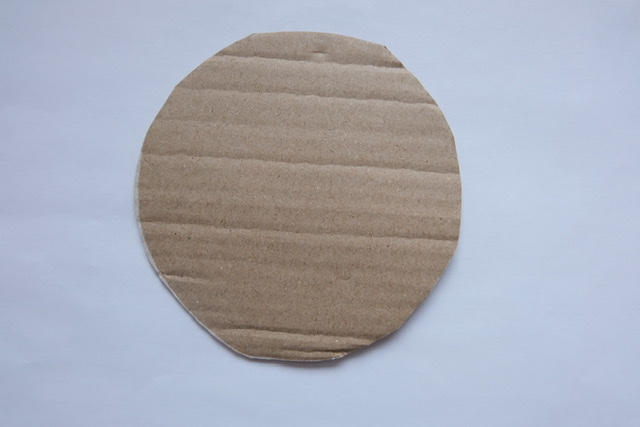
1. Draw a circle onto a piece of cardboard. About 12-14+ inches in diameter.

2. Cut out the circle.

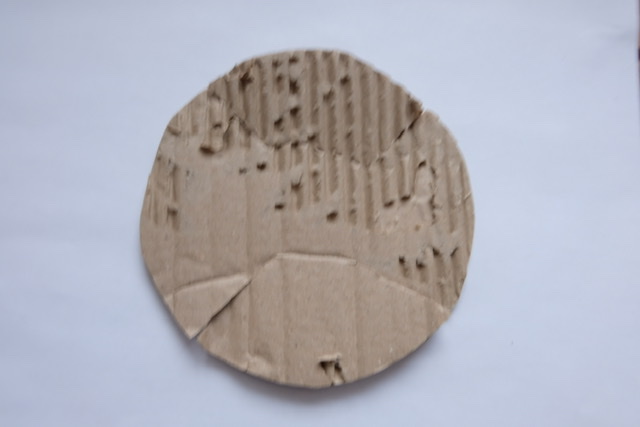
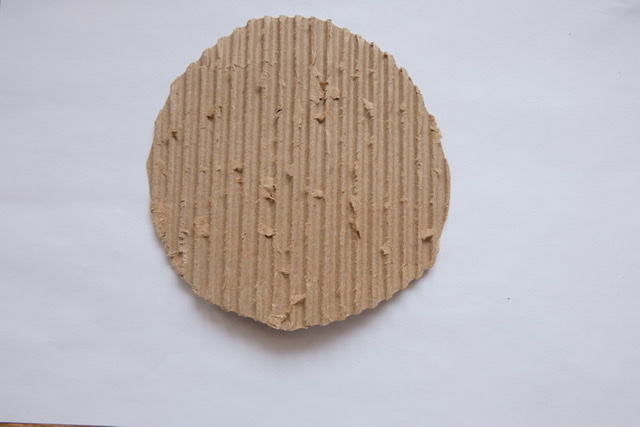
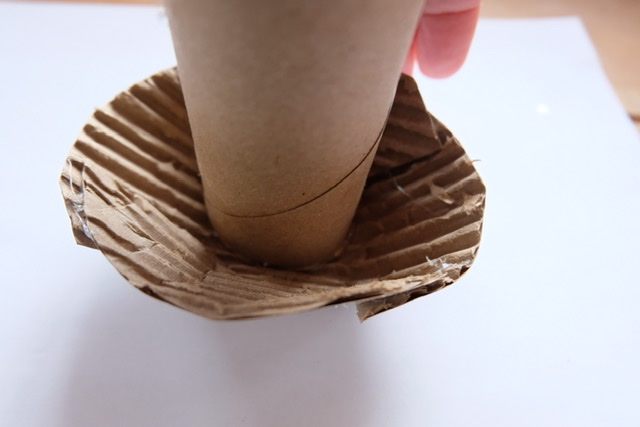
3. If you want to make the gills on the mushroom, rip off the first paper layer on one side to expose the corrugated cardboard. This works with thick cardboard.

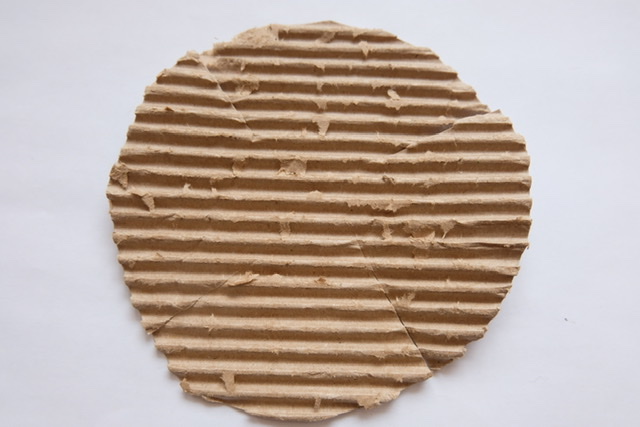
4. Cut Four slits like in the photo rough;y 2-3 inches deep, evenly spaced around the circle, or two slightly closer together at both ends.

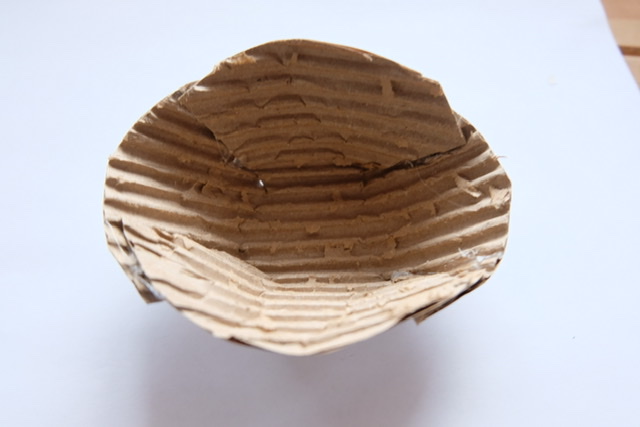
5. Glue the slits back together, placing one edge over top of the other edge. The two vertical ends on the outside and the horizontal ones tucked inwards. See photos. If you want the glue to dry fast, use a glue gun. If you don’t mind waiting until it’s time to paint them, use white school glue. You can add a clip while it's drying to hold it into place.


You can paint it before you glue the cap togther, while it’s still flat, or after you glue it, that’s up to you! We painted it before we glued it together.
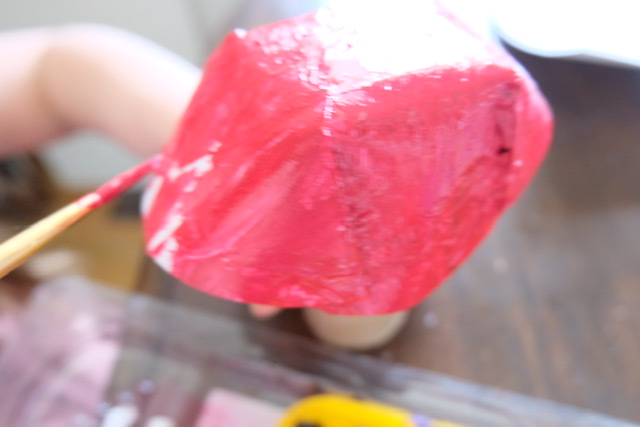
6. Paint the top side red:


Allow it to dry.
7. Paint the bottom side white:

Allow it to dry.
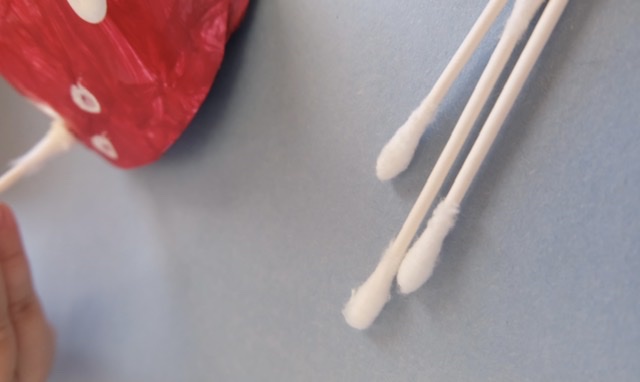
8.. Add the spots on the mushroom. You can use a mason jar lid by painting in the white, using it like a stencil.


For the stem:
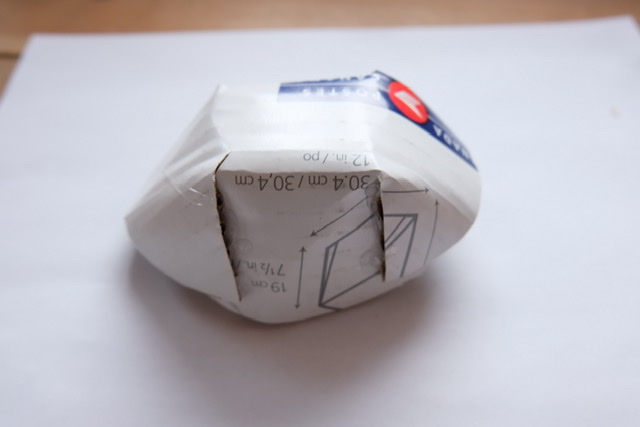
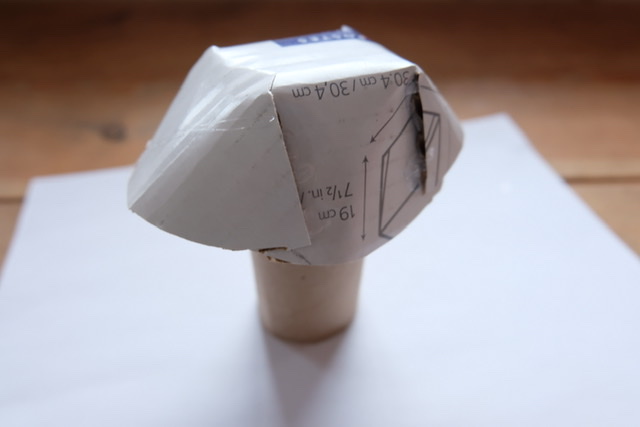
1. Measure out the child’s head, then cut a long strip of cardboard that will fit their head. This length should be measured above ther ears all the way around their head. The vertical width can be anywhere from 2-5 inches, depending on how long you’d like the stem to be.

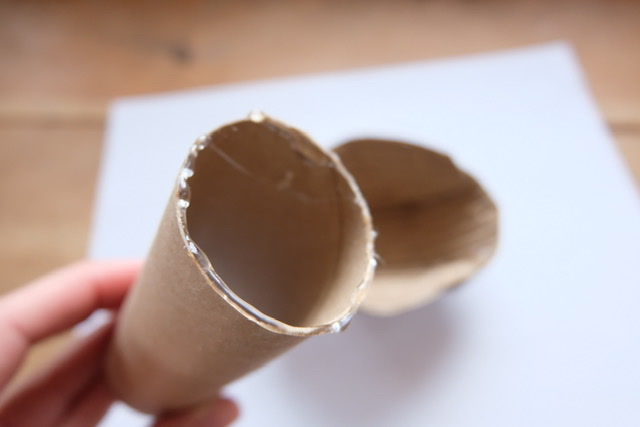
2. Glue it together at the two ends, so that it becomes a headband / crown.
3. Paint the stem white on the outside.
4. Glue the stem headband / hat structure to the inside of the mushroom by applying glue to one side of the circular edge. Mod podge or a glue gun works best. If you need to double secure it add a few folded pieces of paper in an L shape along the stem edge and onto the very top underside, we didn’t need to do that but it’s a good option.
Allow it to dry!

Add the ring, using felt, if desired. Cut and glue it on:

You are finished! Have fun playing with the new toadstool hat!


Need an easier, small toy version? Make the smaller recycled mushrooms;
https://www.acornsandaprons.com/post/recycled-mushroom-craft


We hope you enjoy this recycled mushroom hat craft and that you learn a bit more about mushrooms. If you make this craft, feel free to tag us @acorns.and.aprons. We may feature your creation as a story!


Comments