- Jan 18, 2021
- 5 min read
Updated: Dec 5, 2022

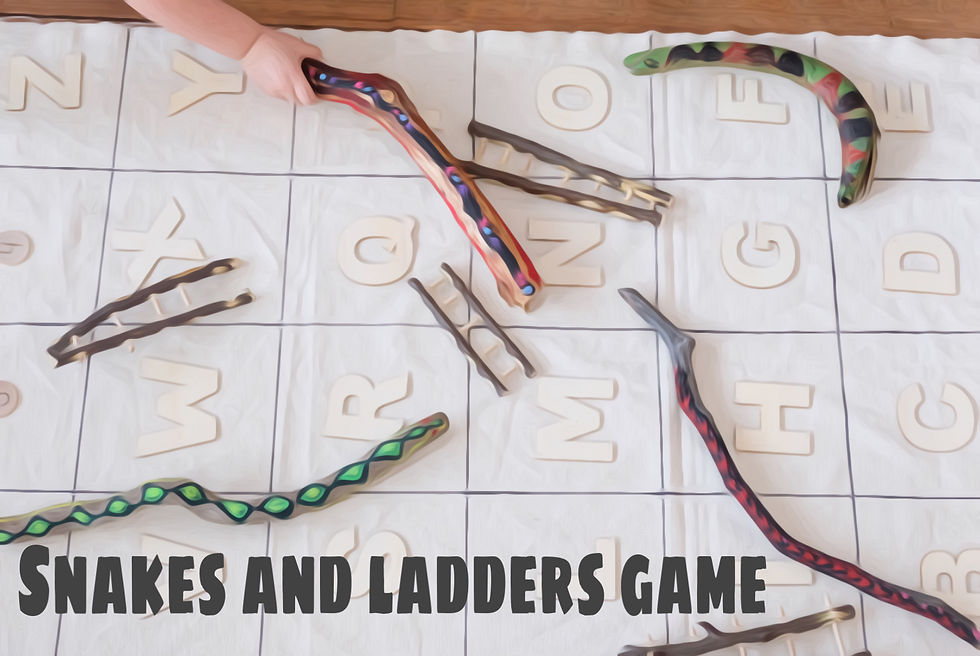
This is a fun DIY game to create because you can add your own creative design to the elements are you will also be able to custom build your game board each game by manipulating the moveable parts.
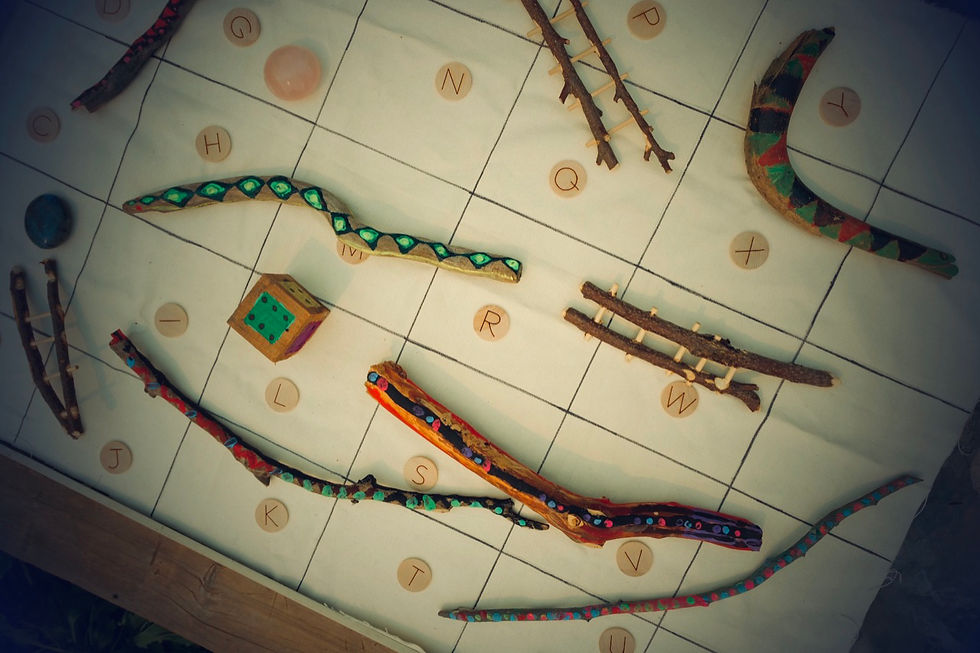
Before you begin your game, place the snakes and ladders wherever you’d like on your Baird. Change it up each game so you‘ll never get bored of this board game. Make it easy or hard depending on the skill level. You can add numbers, letters, words, mathematics, pictures or anything you’d like into the square sections. That way you can teach children different skills that they need to learn while playing the game.
Roll up the fabric game board and place it and all of the pieces into a carry bag. Take it with you outside to play anywhere you’d like. It’s a great game to bring with you on a backyard or park picnic. It’s also fun to play on a large table during family game night.


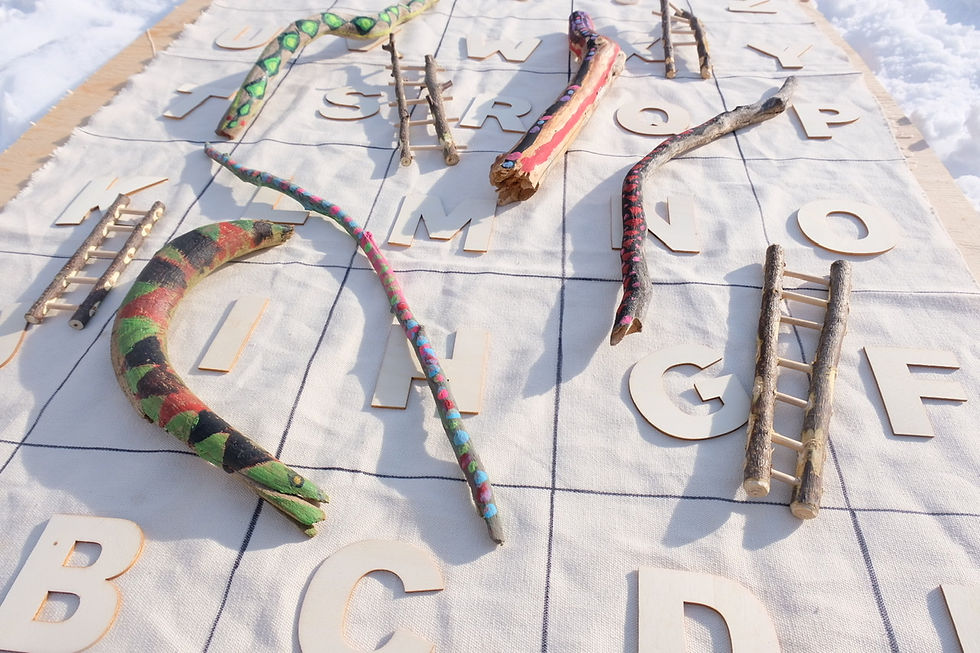
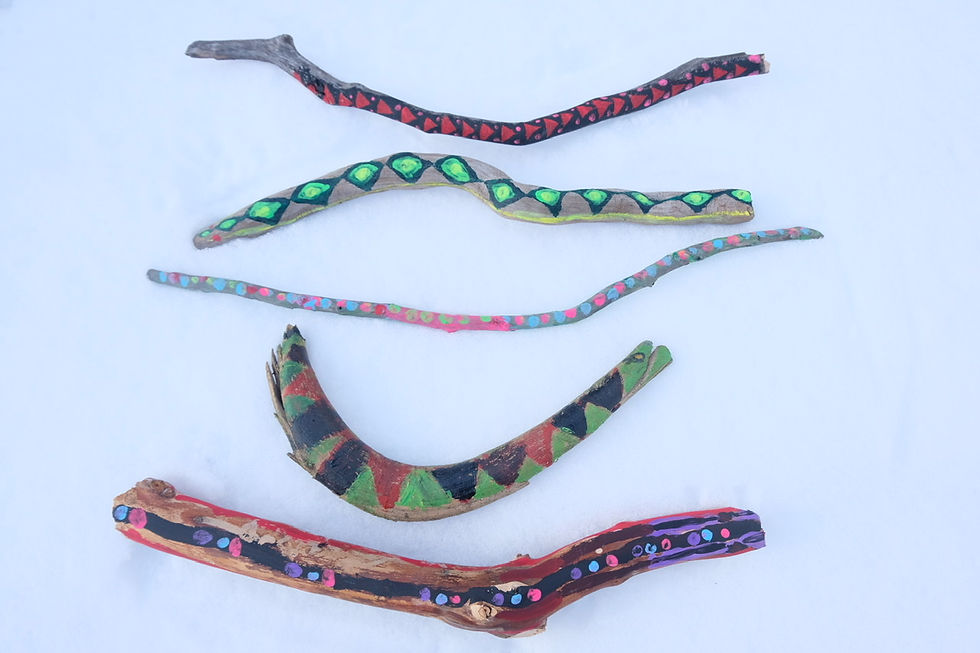
Creating the snakes is a fun craft in itself. The ladders will need help from an adult, unless you chose to glue the pieces together. The cute miniature ladders can also be made on their own as a fun piece in a fairy garden.

Materials:
Snake:
sticks (with a wiggle, bend or curve)
paint (acrylic or washable child’s paint)
paint brushes
container of water (to clean brushes while painting)
newspaper or recycled paper to protect your table while painting
Miniature wooden Ladders:
sticks (straight)
wooden dowels
masking tape
drill
Miniature wooden Ladders (without a drill):
sticks
wooden dowels
glue (mod podge or clear school glue)
String

Fabric Board:
white or light coloured fabric (we used fabric canvas)
pencil
ruler
permanent marker
wooden numbers or letters to place into the squares, or write them on with marker.
Additional items you’ll need:
dice
player pieces (you can use small rocks)
How to make the snakes:
Collect some sticks for the snakes from outside on the forest floor in the woods, at a local park or in your backyard.
Put some newspaper or recycled paper under the snakes on the table you are using, to protect your table.
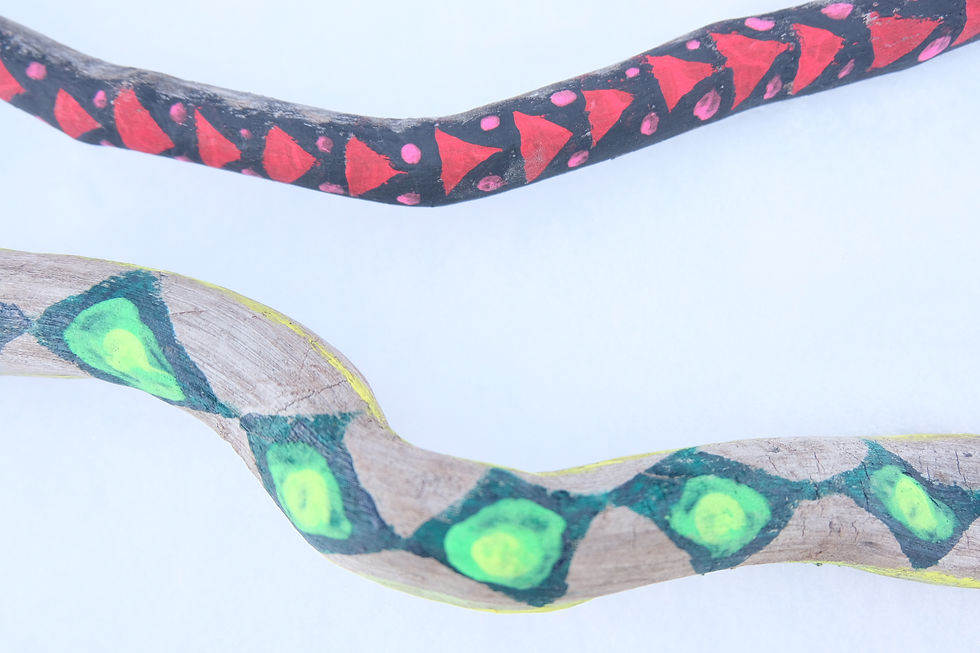
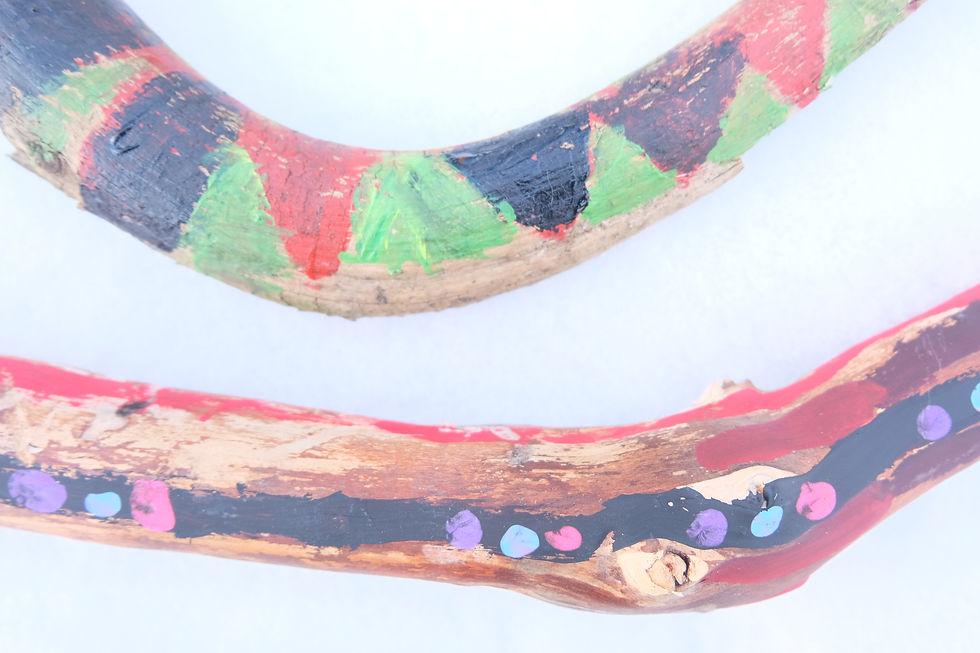
Start painting your snake using acrylic paint or washable child’s paint (if your child tends to paint themselves and clothing instead).
Try to use bright colours, and interesting shapes. Diamonds, X’s, lines and circles work great. Paint your snake realistically or abstract.
Allow it to dry.

How to make miniature wooden Ladders:
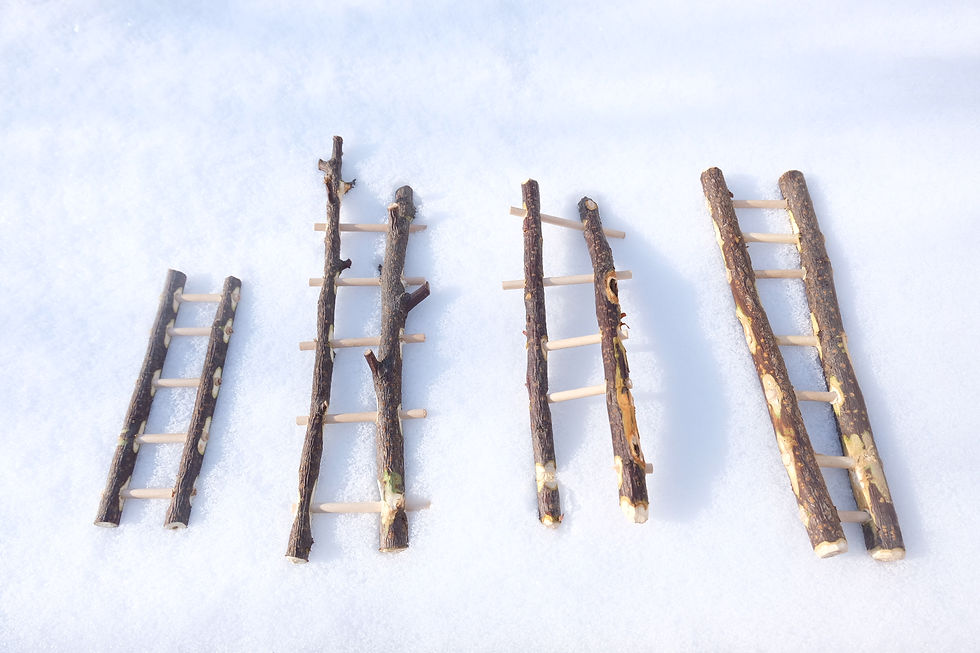
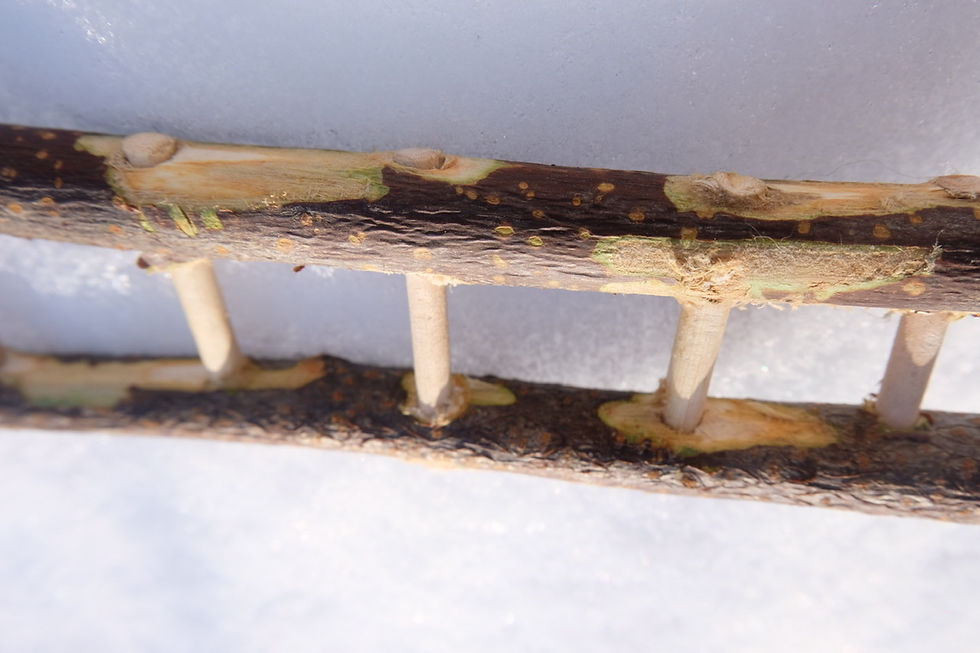
Get some sticks from a walk, about the same as your pinky finger in thickness, and freshly cut (live) are a bit easier to work with. Cut them into equal lengths with clippers... 5-8”(127-203mm) is a good length. Choose mostly straight sticks, we promise it will make your life easier.
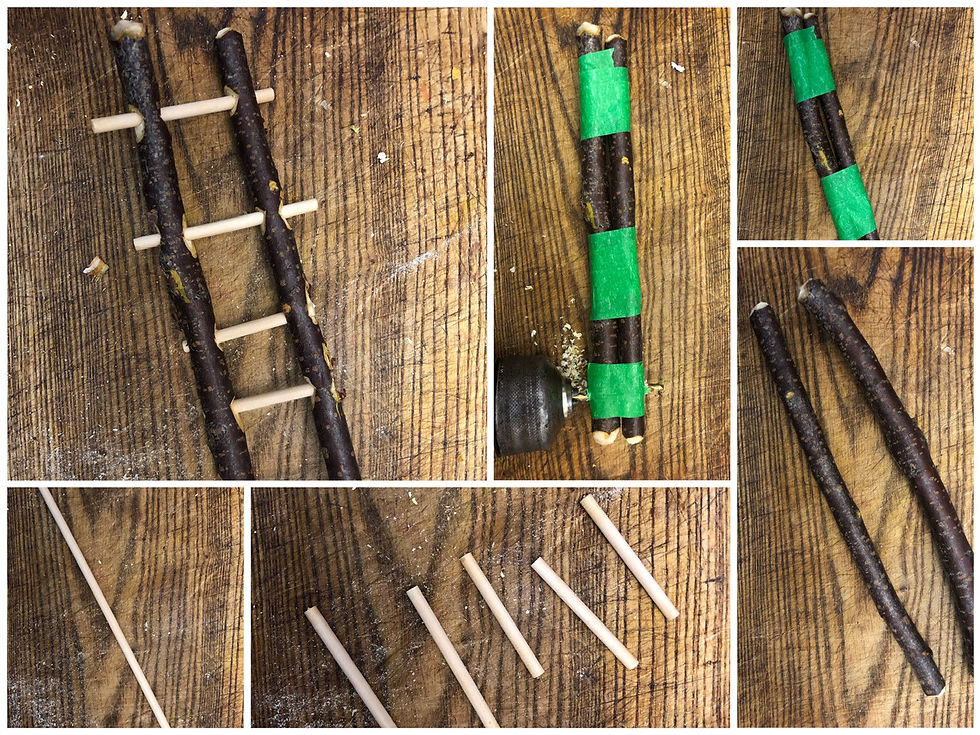
Tape the sticks together with masking tape by wrapping it several times.
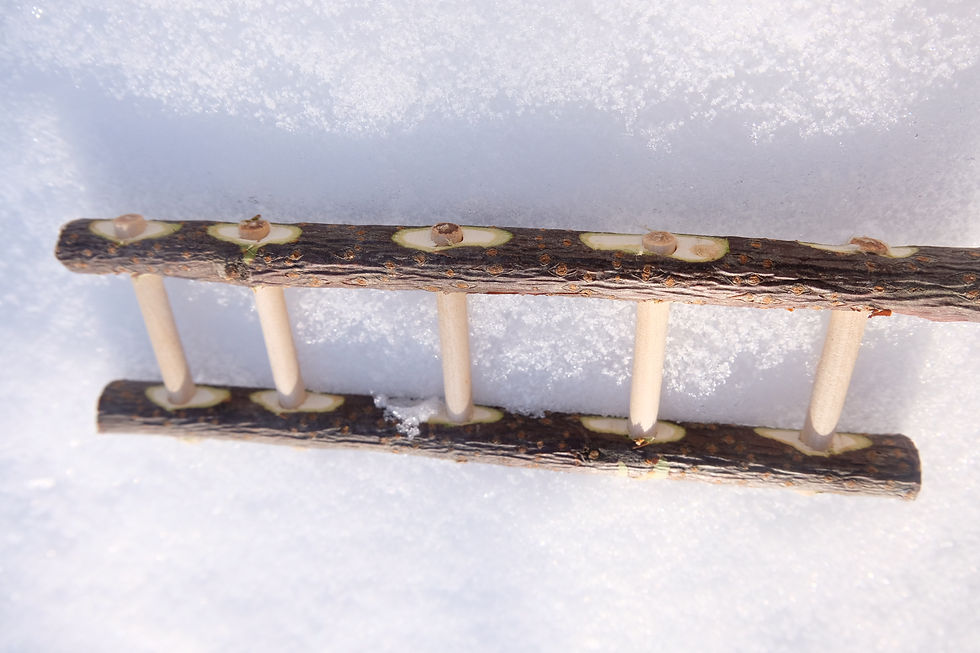
Drill parallel, equally spaced holes through both sticks for the rungs. Use a drill bit that is the same as the dowels. If it is bigger, you may need to glue it, if it is smaller, it won’t fit. We put rungs about every inch (25mm)
Cut wooden dowels (chopsticks work well too) into equal 1.5” (25mm) lengths, as many as you’ve drilled holes.
Tap the dowels into the drilled holes through both sticks, remove the tape.
This part is a little fussy, get a butter knife and gently pry the two sticks apart so it becomes the ladder. You’ll likely have to tap the dowels here and there as you do it so they don’t come out, but after a little manipulation, the ladder will materialize! Depending on your preference, you can cut the ends of your dowels or leave them long.
Done!

If you are unable to make the ladders as describe, you can glue on the wooden dowels or tie string around each one to secure it into place. If you prefer to make paper ladders instead, draw them out onto a piece of paper and cut them out, then use them on the board like you’d use the wooden ones.

How to creating the fabric board:
Cut out a piece of fabric to the size that you’d like, you can create as many squares as you’d like.
Measuring: We made 30 squares. So that we could fit all the letters of the alphabet and a few extras. Each square is 7 inches by 7 inches. This size worked with our fabric and we probably would have went with 6 inches or 8 inches for an even number. The width of our canvas was 33 inches and the length was 44 inches.
With a pencil make diagonal and horizontal lines on your fabric. To represent the squares. .
When you are certain that your lines are perfect, retrace them with black permanent marker.
We didn’t finish the cut edges by sewing them, because we wanted to make it easier but if you are handy with a sewing machine you could finish the edges with a trim., or by folding the edges.
Choosing the right fabric:
We went with a thicker canvas because it lays well on the table and doesn’t wrinkle much or bunch up, so thicker fabrics like canvas are a good choice. If you use felt as your fabric your edges will look nice, you could also use felt letters that will stick easily to the felt board.

An easier version of this DIY game:
If you wanted to make a paper and cardboard version; draw some paper snakes and ladders on thick white paper, colour the snakes, then cut them all out. You can glue them onto the cardboard game board or do what we did and make the pieces moveable, so that you can rearrange them each game. Making it harder or easier depending on how you want to play. We used a large square cardboard box, similar to a pizza box. Draw out several squares, as many as you’d like! Fill the squares in with letters or numbers. Then add a start and end word, if desired. .


How to play Snakes and Ladders:
Each player gets a player’s piece, so identifying who is who is important. We used different coloured small rocks for each player. Beads and seashells also work. This is a great opportunity to learn about rocks and gems or different types of seashells.

Roll the dice one at a time (take turns) and move how many squares per number on the dice.
Keep moving forward and up the board until you reach the last square. Once you reach the final square you win.
When you land on a square with a ladder going up, you can advance up to the square it takes you to. Only go UP ladders.
When you land on the head (top) of a snake, you must move your piece backwards, down the snake to the square that the end is on. Only go DOWN snakes.

Note: Since this is a moveable parts game, you can set up your board the way you’d like by placing the snakes and ladders anywhere. Once the board is set up you cannot move the snakes and ladders. For the squares, place letters or numbers in the squares. You can draw these directly onto the board if you want. We like to keep the board open to learning, so we place the letters, numbers or words in each box, each time we play the game. That way it becomes a learning tool for home learning as well as a game. You can buy wooden letters or numbers to use, or write down your own on a piece of paper and cut them out to place on the board.
We hope you enjoy this fun diy game. If you make the snakes, ladders or the entire game feel free to tag us on Instagram @acorns.and.aprons and we will feature it as a story.
#snakesandladdersgame #diygame #craftandgame #kidcraft #snakecraft #homeschool #natureschool #homemadegame #boardgame #snakesandladders


Comments