- acornsandaprons
- Feb 4, 2021
- 2 min read

This craft brings the great stars we see outside at night into our house, lighting up the walls with the constellations. These constellation boxes brings depth into a fantastical light display. Although intricate in its display, these small constellation boxes are an easy mini diy planetarium. Painted to resemble the magical galaxies, a combination of the Milky Way and a vast glowing Nebula with the familiar star arrangements that we see from earth.
The materials we used are from recycling materials found around the house. We used LED Christmas lights and a small cardboard tea box. Christmas lights are a great opportunity to be used for added value, it always seems so strange to only use them once a year, this way they get extra mileage and use.

Common Constellations seen with the Naked eye in the Northern Hemisphere:
Ursa Major (Big Dipper)
Ursa Minor (Small dipper)
Aquarius.
Aquila.
Aries.
Canis Major.
Cassiopeia.
Cygnus
Gemini.
Leo.

Materials:
Reused Box - small tea boxes work well
Push Pin or Pumpkin Carver
Acrylic (or washable) Paint
Brushes
Marker or pencil

Directions:
How to paint a sky design onto your box :
Add the black paint first and leave spots empty for the coloured paint.
Allow the black paint to dry.
Paint coloured strokes in the blank spaces that you left, add a bit beyond and into the black paint to blend it into the black. Purple, blue, red and white look best.
Allow the paint to dry.
Paint the stars by speckling the paint onto the box, do this by adding white paint to a tiny bit of water to thin it, then flick your paint brush with your wrist up and down or use your fingers to move the brush hairs so that the bend back and let go. You can also add white dots to the painting with a thin brush.
See photos for the visual steps .

Creating the constellations:
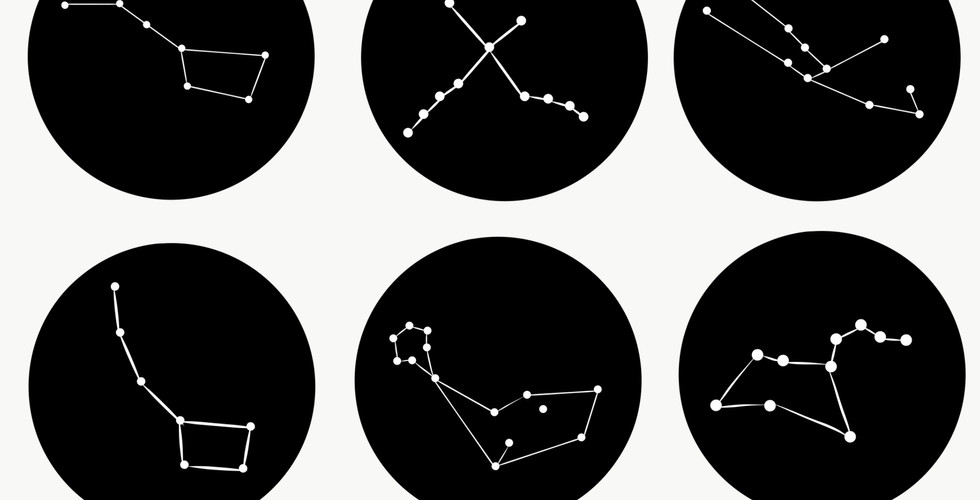
1. Draw out the constellation you want onto each face of the square or rectangular box. Do this by either drawing it onto a piece of paper and then glue or tape it on, or draw it directly onto the box. We have provided a Free Constellation template with 6 constellations to work from.
2. Use a push pin or a tool for pumpkin craving to puncture the holes into the dots that you drew out.

Lighting up your box:
Use a small flashlight, tea light or battery operated LED Christmas lights. Don’t use larger bulbs that heat up and candles or flames of any kind.
The constellation box when it is lite up in darkness;

Free Printables by : Acorns and Aprons, © all rights reserved 2021. The constellation templates have some of the constellations for you to printout and use for this craft. You can download it from our Printables page under the main menu, to use as a guide..
Note: thinner cardboard boxes allows some light to shine through the coloured areas of the box, making a cool effect;

Thicker boxes will allow only the light from the pin holes to shine through;

We hope you enjoy this fun constellation box craft. If you make this craft feel free to tag us on Instagram @acorns.and.aprons and we will feature it as a story.


