- acornsandaprons

- May 17, 2021
- 5 min read
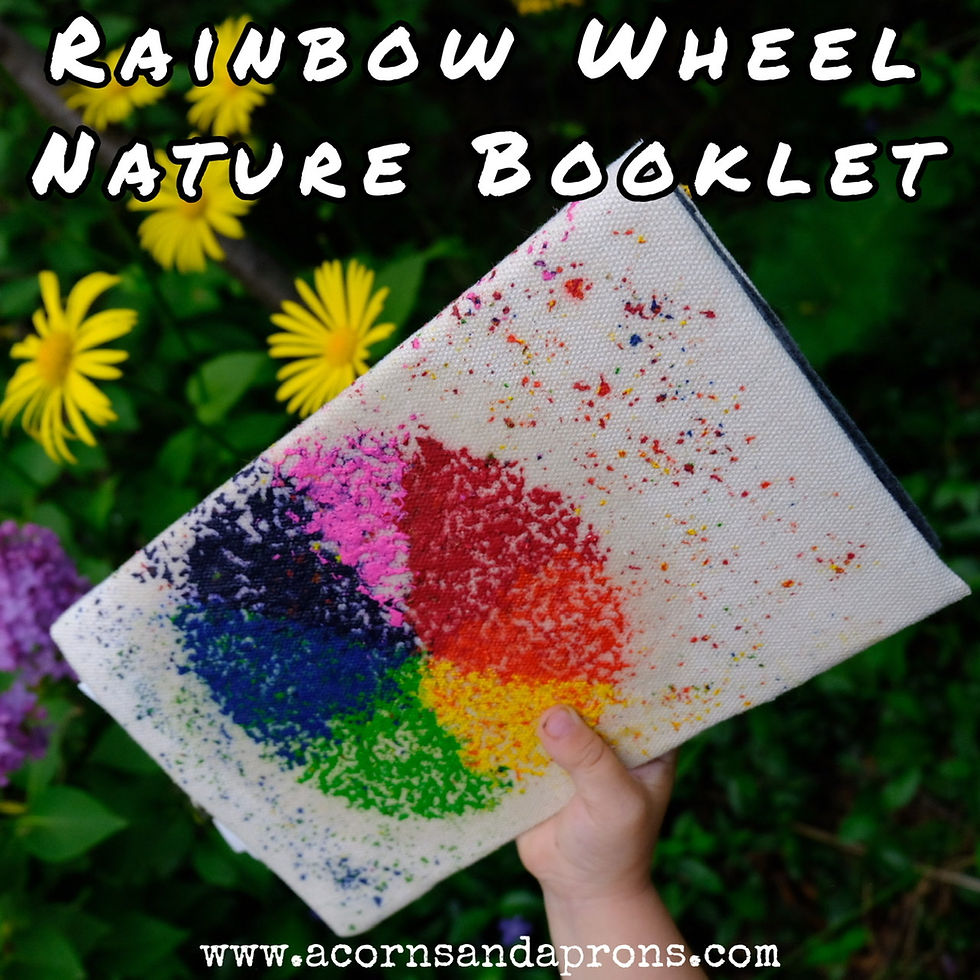
This mini booklet is the perfect craft to bring with you on nature walks. It’s small and light enough to fit into a tiny backpack or carrying bag. It has multiple ways on how you can use it, it’s basically an everything booklet. Put a real book inside, use it as a felt board, add paper to make it into a nature journal, it‘s also a clipboard, use it like a binder and bring worksheets on your walk or any kind of paper.
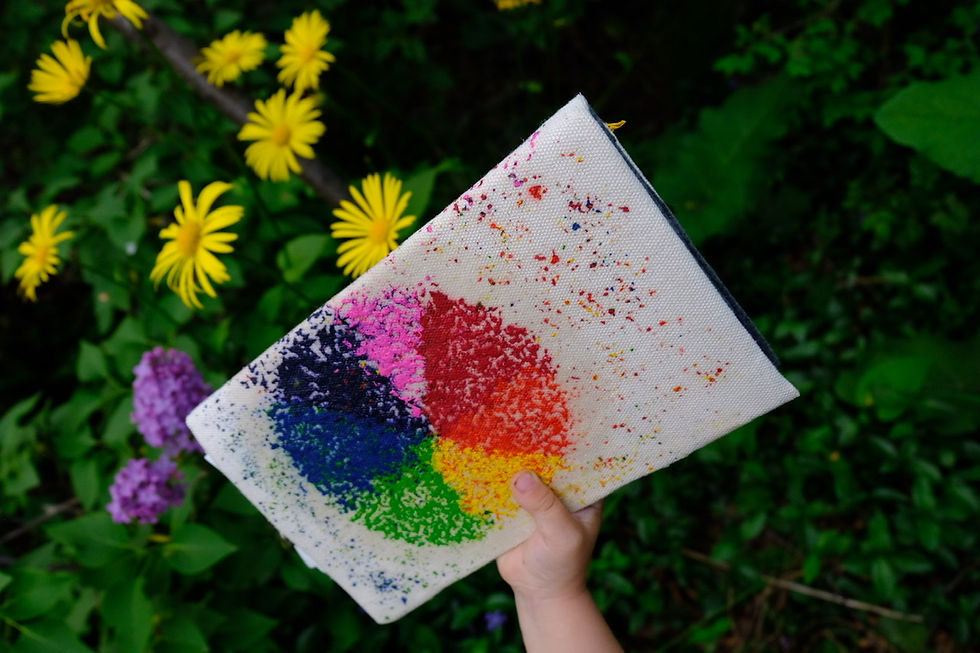
This craft is a fun way to recycle those old and broken crayons. You don’t need to use very much of the crayon, the broken piece will be enough! Melt the crayon in the oven for 4-7 mins to create an interesting textured colour wheel. You can also make any design you want! Use this idea as inspiration to create your own melted crayon art.
We love reusing recycled cardboard and giving it new purpose. For this craft we used thick recycled cardboard from a box. Make sure your cardboard is stiff enough to draw on, since it will become a clipboard. It will need to be sturdy enough for that purpose.
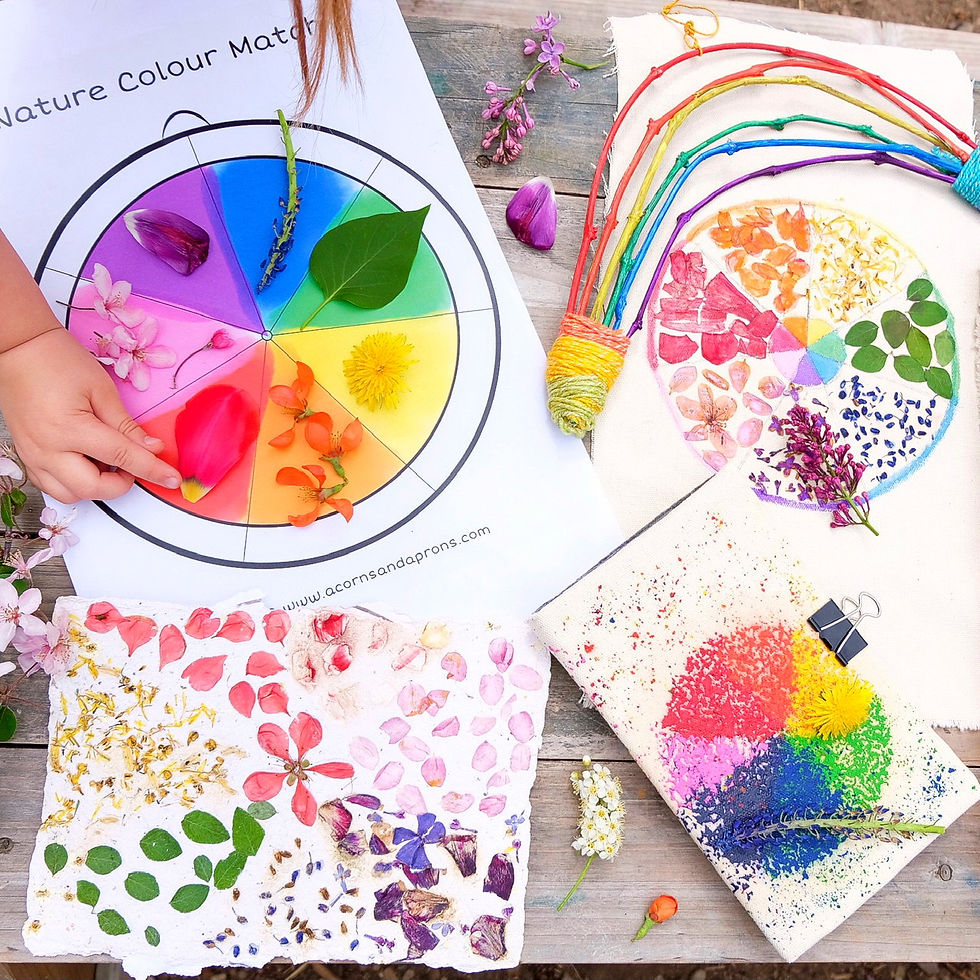
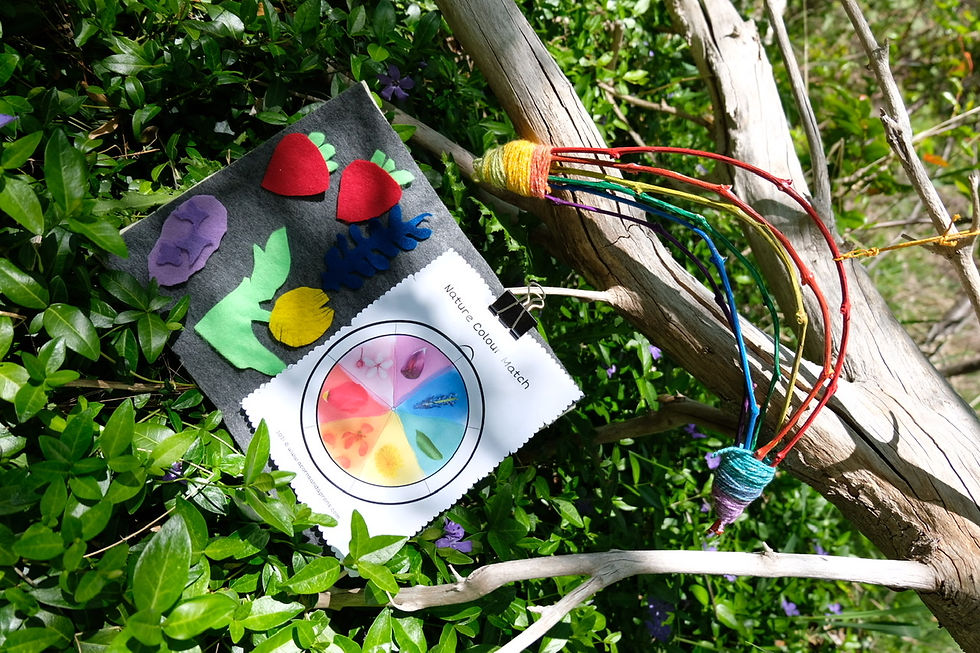
You can also make a colour wheel using dried or fresh flowers. Glue them into your fabric and press them until they are dried. Add more clear glue, like mod podge to seal it in. For this craft we will only be showing you how to create the melted crayon design, but check out the photo above for the rainbow flower colour wheel that we made.

Reading can be fun, with your own customized cover! Print out reading materials to put into your booklet.
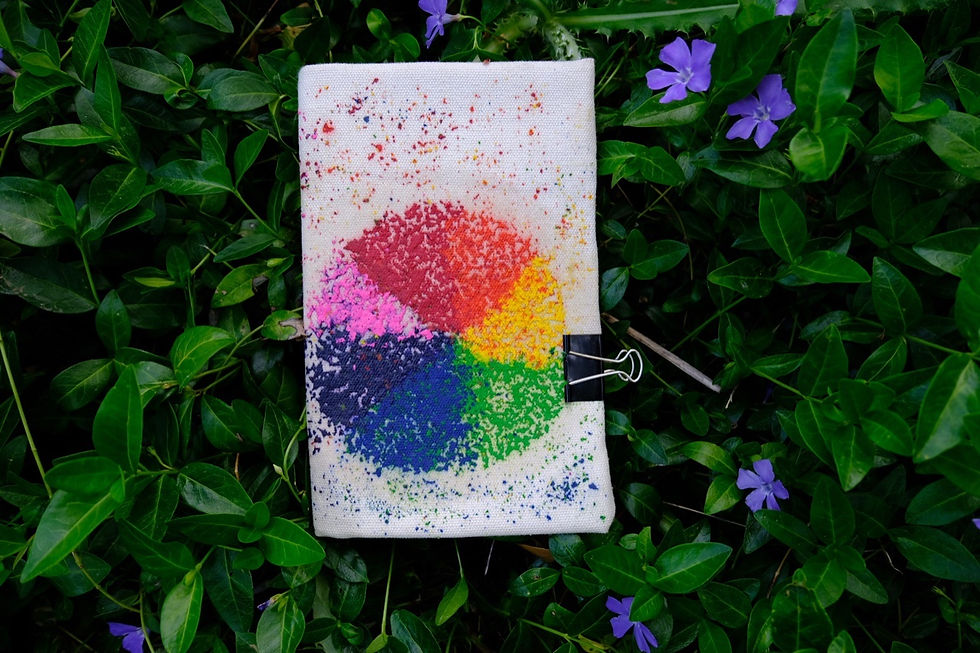
Materials:
1. Old crayons that are small or broken - all the colours of the rainbow
2. A piece of fabric - we used a canvas fabric. Cotton would work too. .
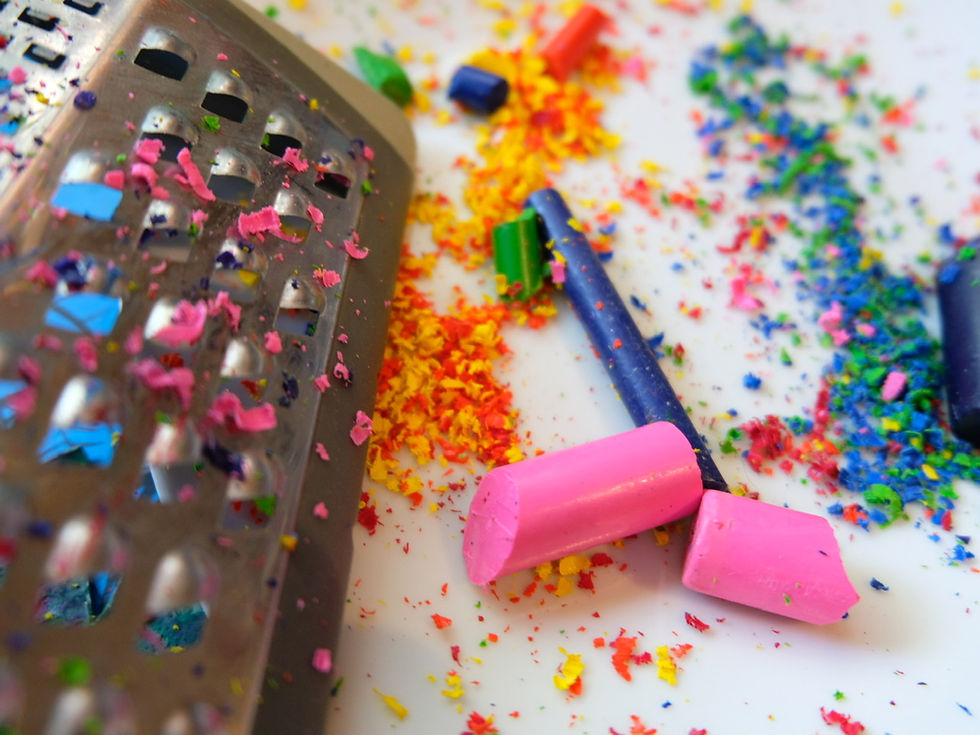
3. A food grater
4. A piece of cardboard - thick enough to be stiff.
5. Scissors
6. Glue - clear glue like mod podge or a glue gun
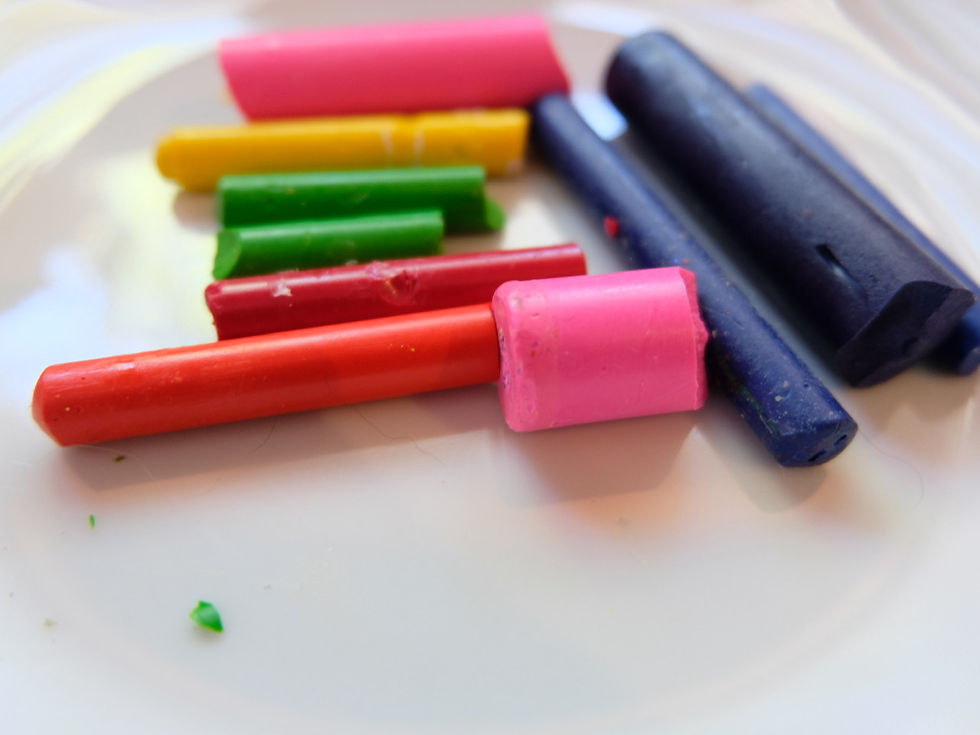
Melting the crayon
7. An oven - low setting of 170° - 200°.
8. a pan
9. wax paper
Inside the booklet (optional):
1. Felt sheets - different colours 2.. A butterfly clip to hold paper
3. Free colour wheel printable!
4. line or blank paper

DIRECTIONS:
1. Preheat the oven to 170°. keep it at a low setting (don’t go any higher than 200°).
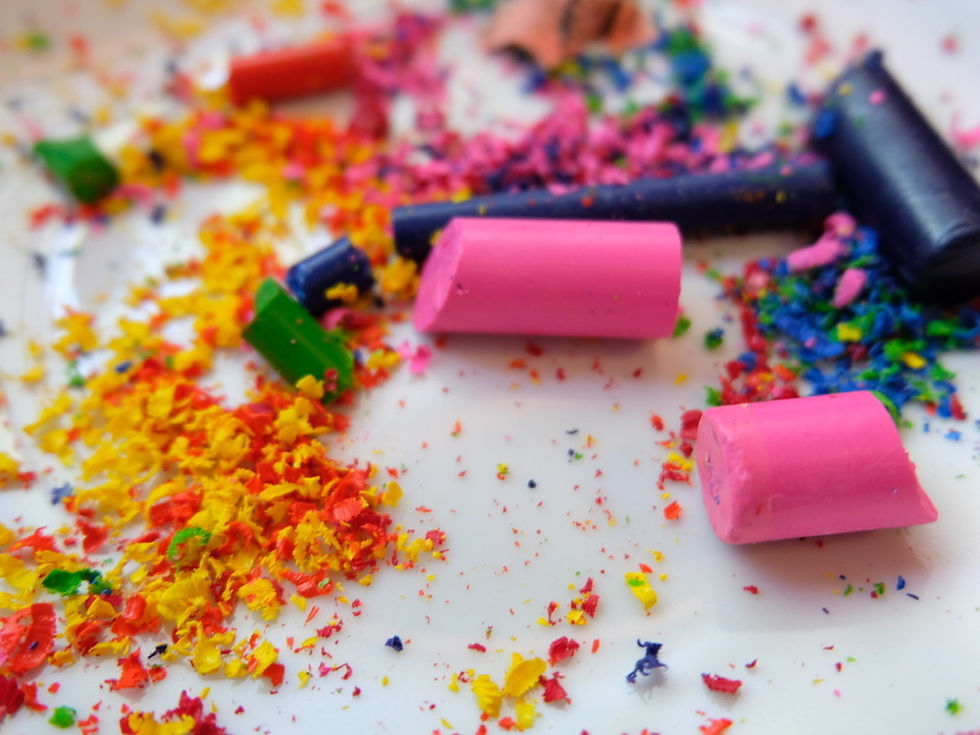
2. Using a food grater, grate each colour separately and set it aside. Grate the crayon on the smallest section of the grater, making sure to do all of the colours of the rainbow. Half a crayon or smaller is more than enough! We also added pink to our colour wheel. Adult help is required for this step.
3. Cut out a piece of fabric. We made ours roughly 8.5 by 11 inches, so that when the book is closed it was like a piece of paper folded in half. Keeping it a reasonably sized booklet for a child to carry.
4. Place your fabric onto a flat pan, make sure to line the pan with wax paper, to prevent run off of crayon. By putting it on the pan now, it will be ready to put into the oven once you add the crayon.

5. Place each colour of the rainbow on the right side of the fabric, so that you place it on the cover of the booklet. The left half is the back side of the booklet. You can trace out a circle or just eye ball it. Place the colours around the circle into a triangle shape, so it makes a colour wheel pattern. We just eyed it, it doesn’t have to be perfect. Add pink, if desired.
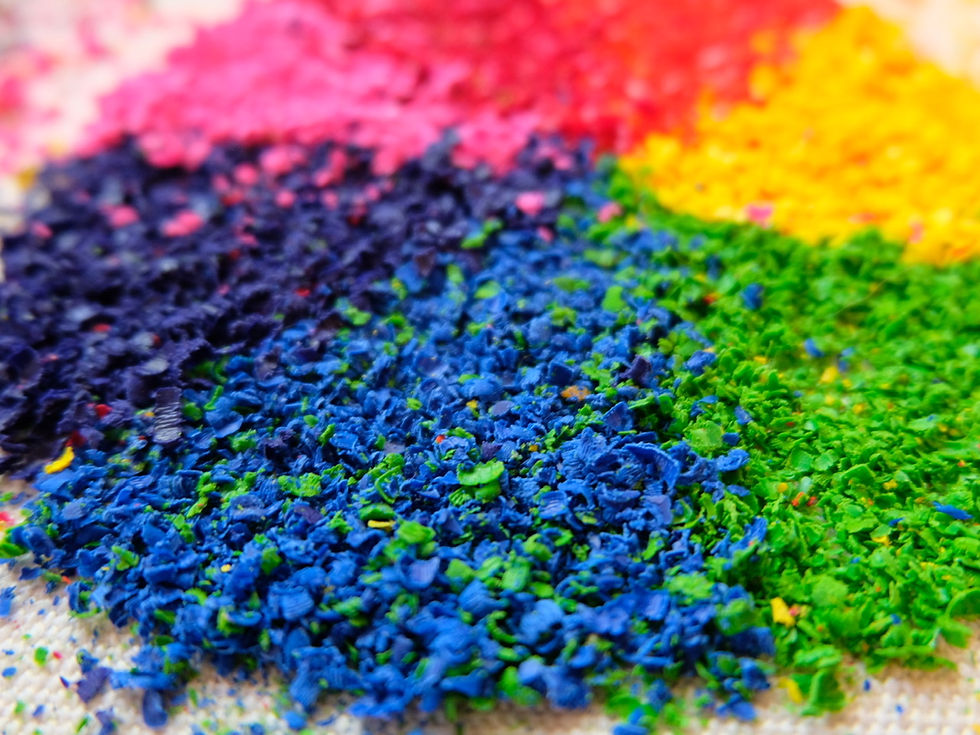
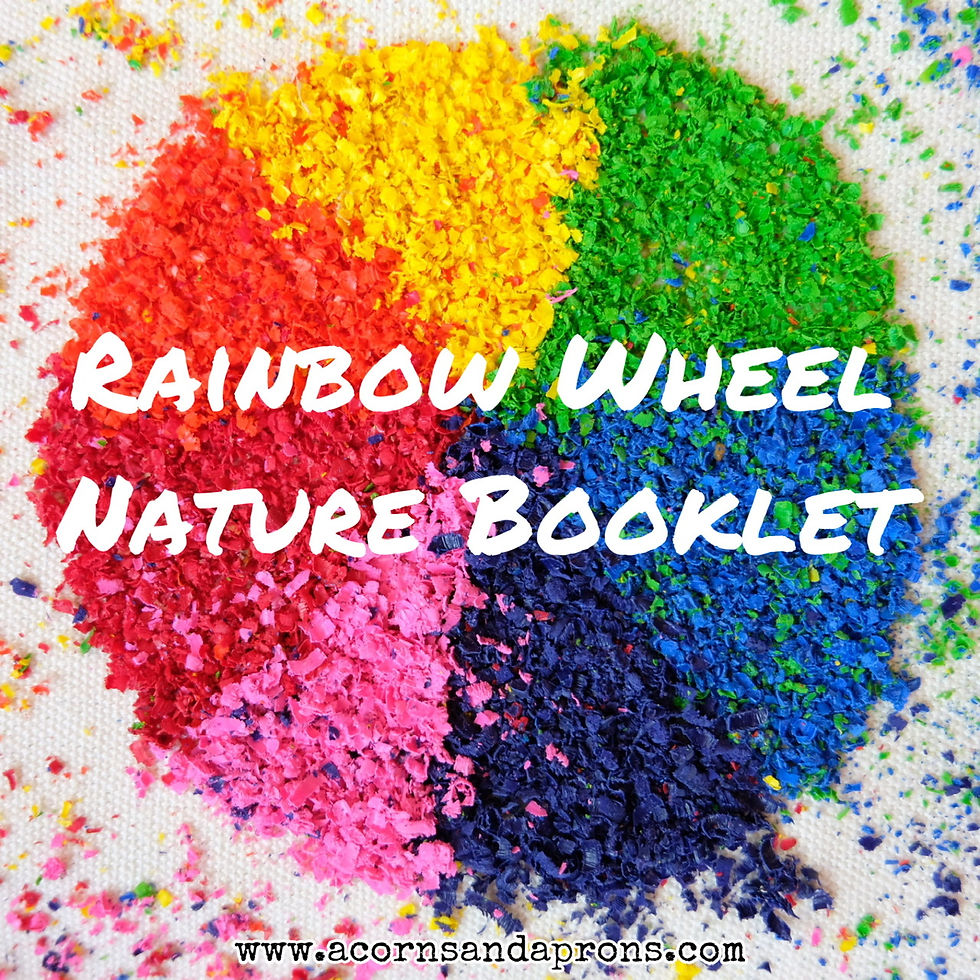
This is what the crayon looks like before it is melted in the oven.

6. Sprinkle any extra crayon pieces onto the left half of the fabric, so the back of the book (when closed) has a bit of melted crayon as well, Don’t put anything on the underside of the fabric yet, the melded crayon should only be on one side of the fabric.
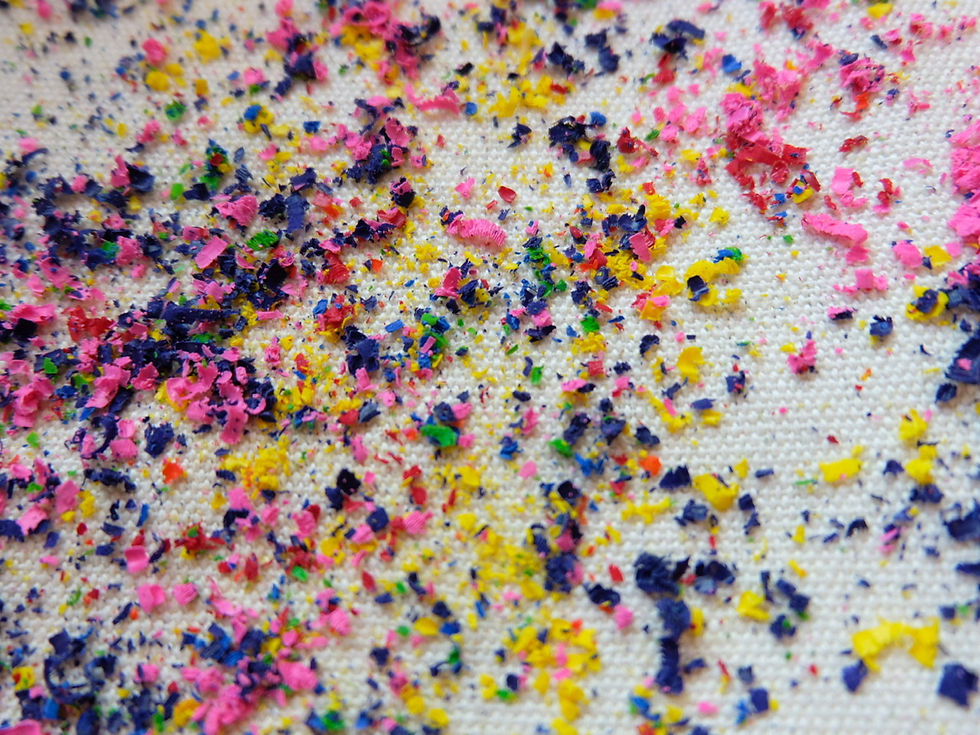
7. When you are happy with your design, place your fabric tray into the oven and bake it for 5 mins, The oven should be at a low setting of 170° .
Bake it until the crayons melt. It won’t take long, so keep your eye on it.
The crayon will finish melting in about 4-7 mins.
Take your pan out as soon as it has melted - adult help is required for this step.
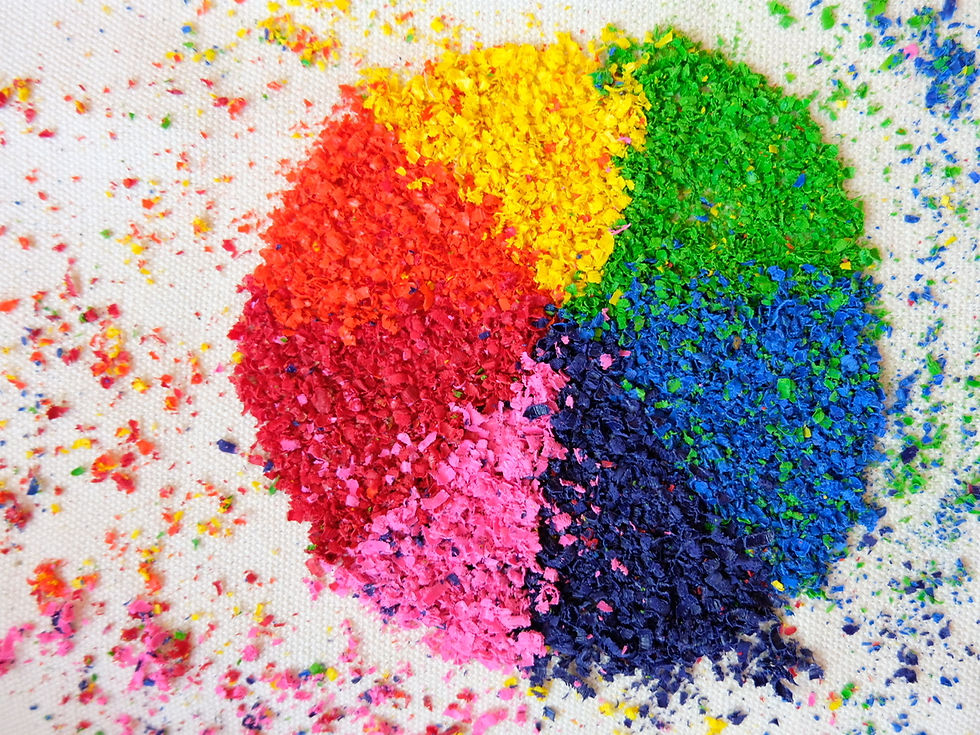
8. Take it out of the oven and allow it to cool, then remove it from the tray.
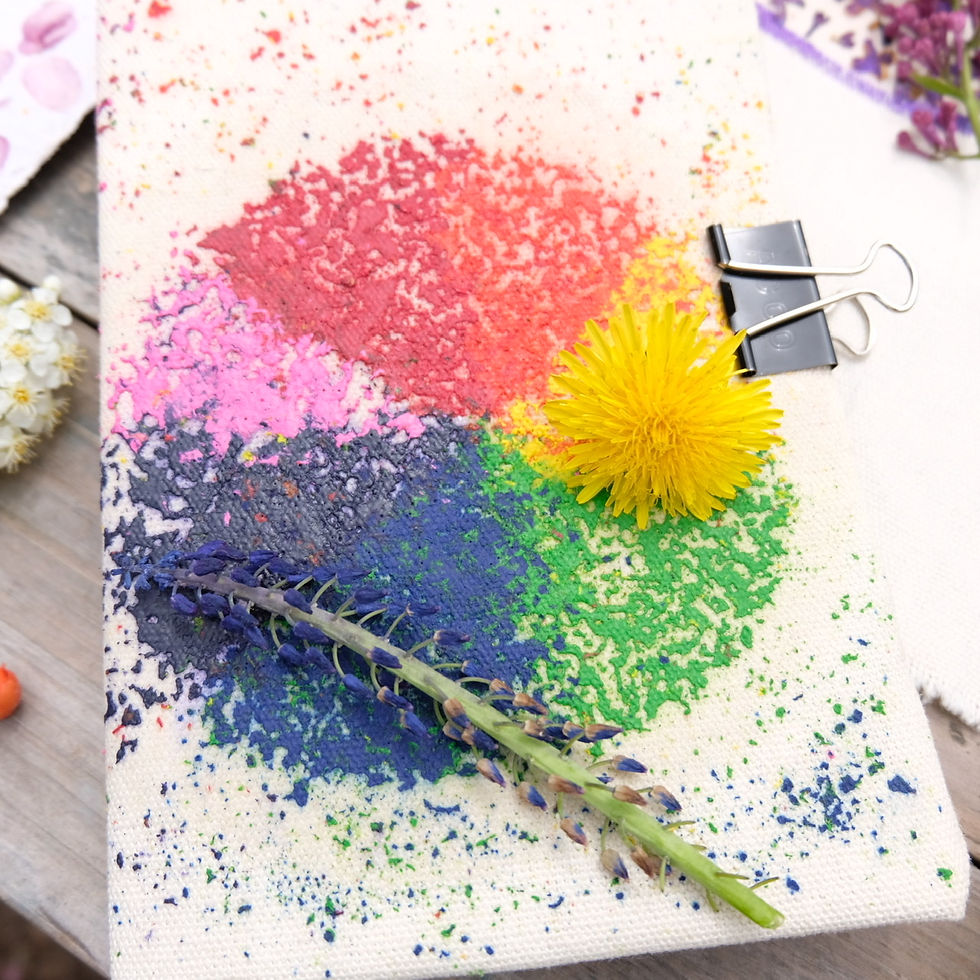
This is what it will look like once the crayon has melted:
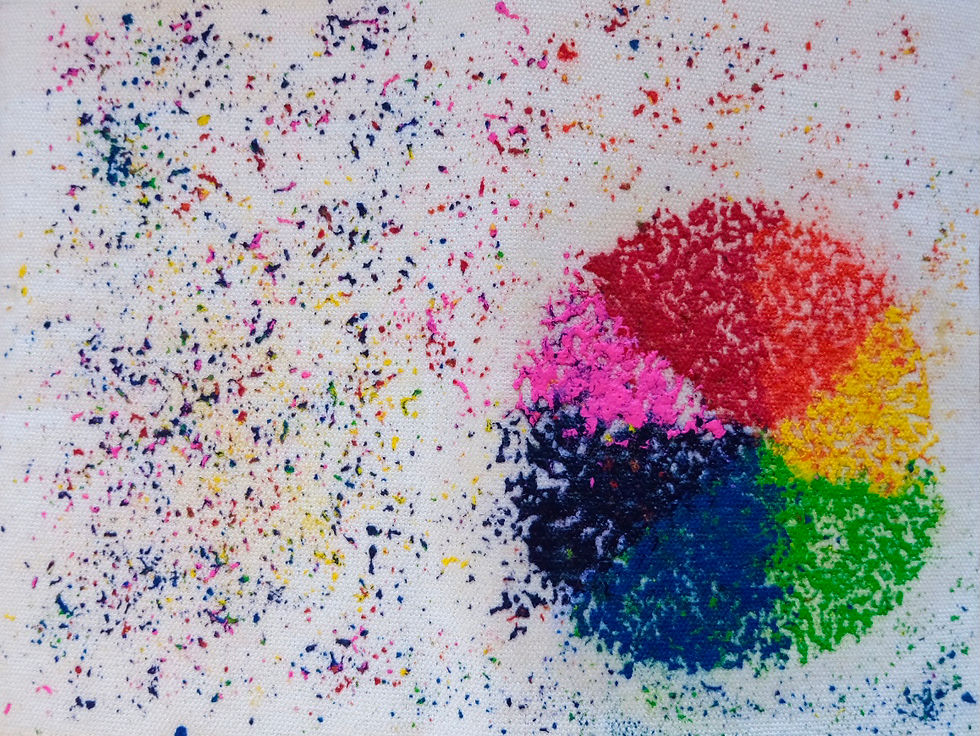
Now you can attached the front cover to the cardboard!
9. Cut out a piece of cardboard a bit smaller than your fabric. Fold the cardboard in half to create a middle fold before attaching the cover. 10. With a hot glue gun (adult supervision or help needed) or mod podge glue wrap the edges of the fabric around the cardboard and glue it directly onto the cardboard. It doesn’t have to look perfect on the underside, you will cover that part. Make sure the front side crayon design faces out and is smooth.
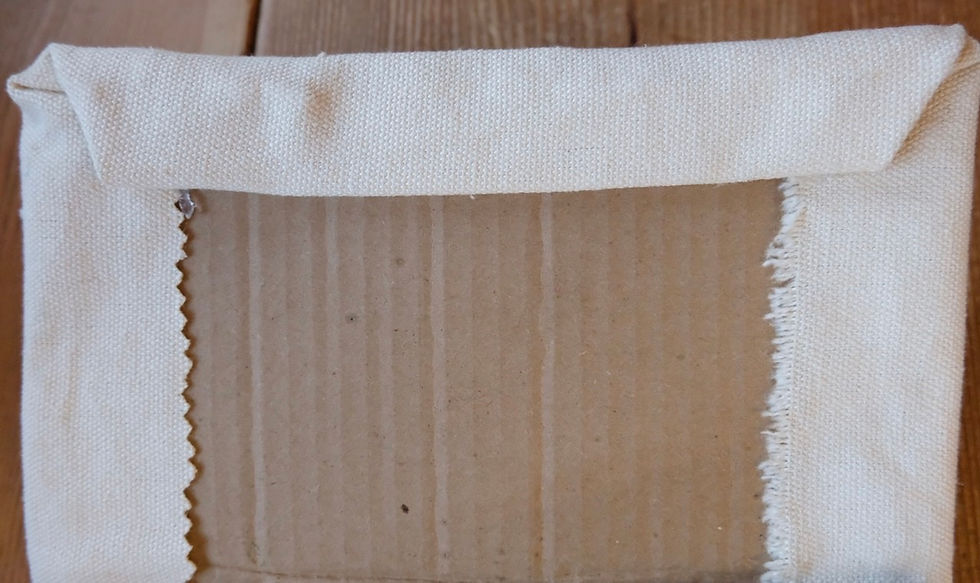
11. Take a piece of felt, any colour and cut it to the exact size of the cardboard.
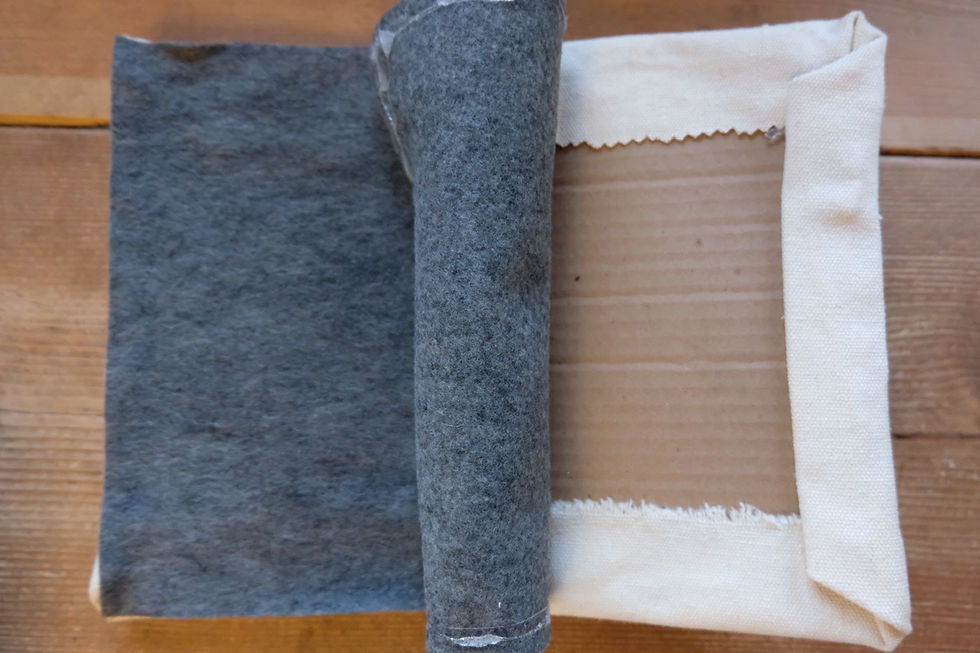
12. Glue the felt onto the inside of the book.
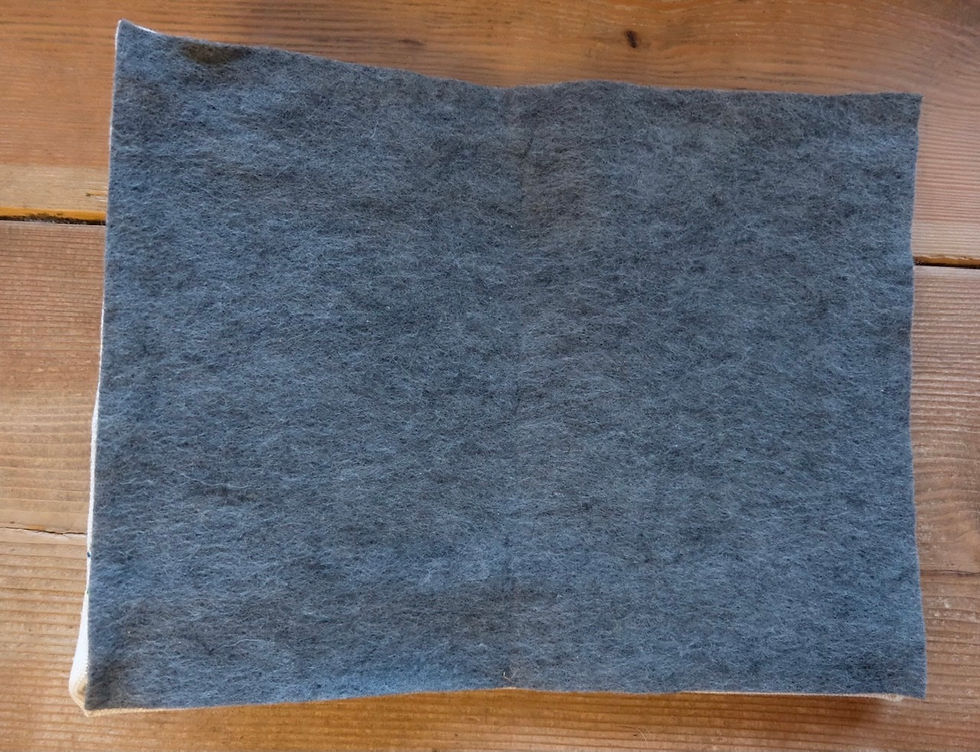
Put glue on just the edges of the felt with a hot glue gun, or the entire back side.
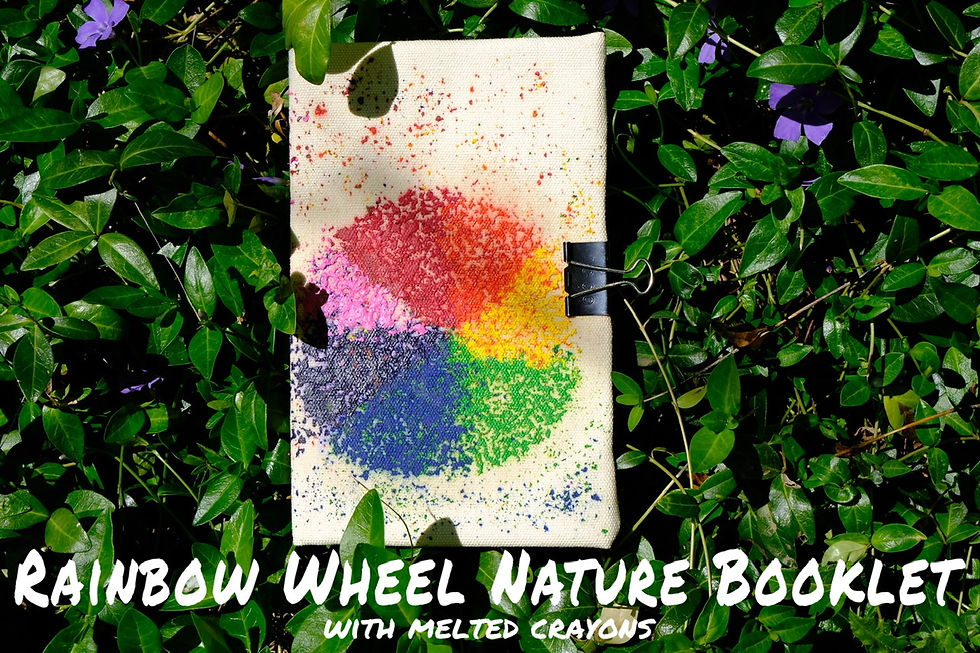
The cover will now look like this:
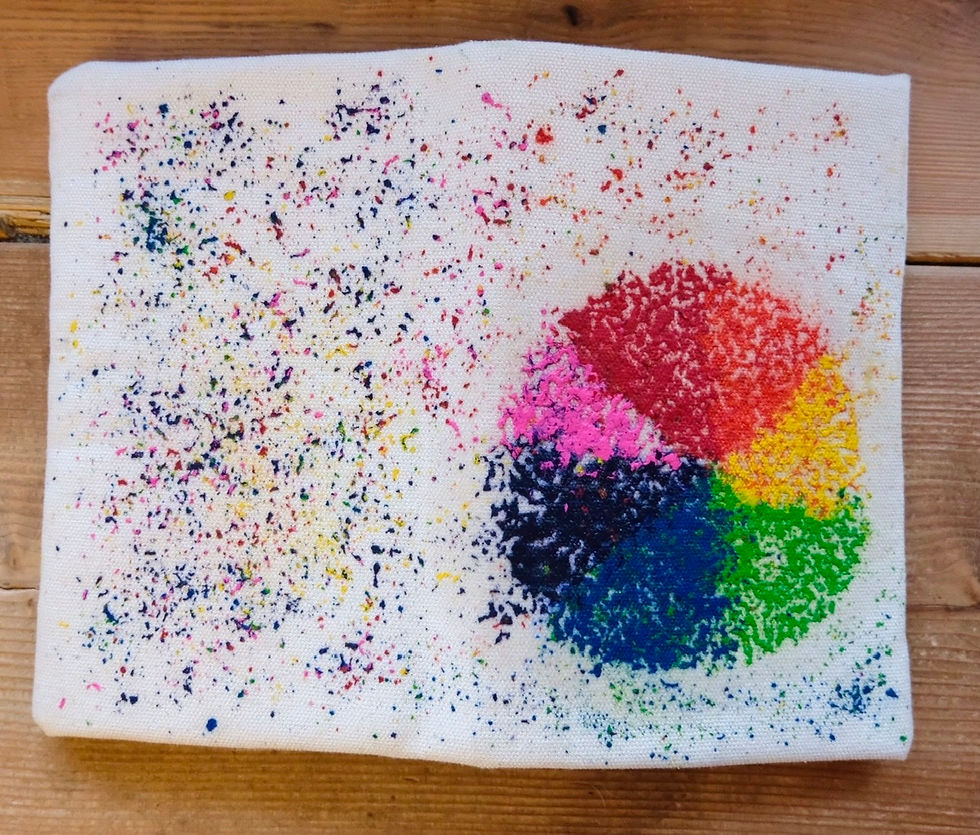
You can use Velcro to close it up or use a clip.
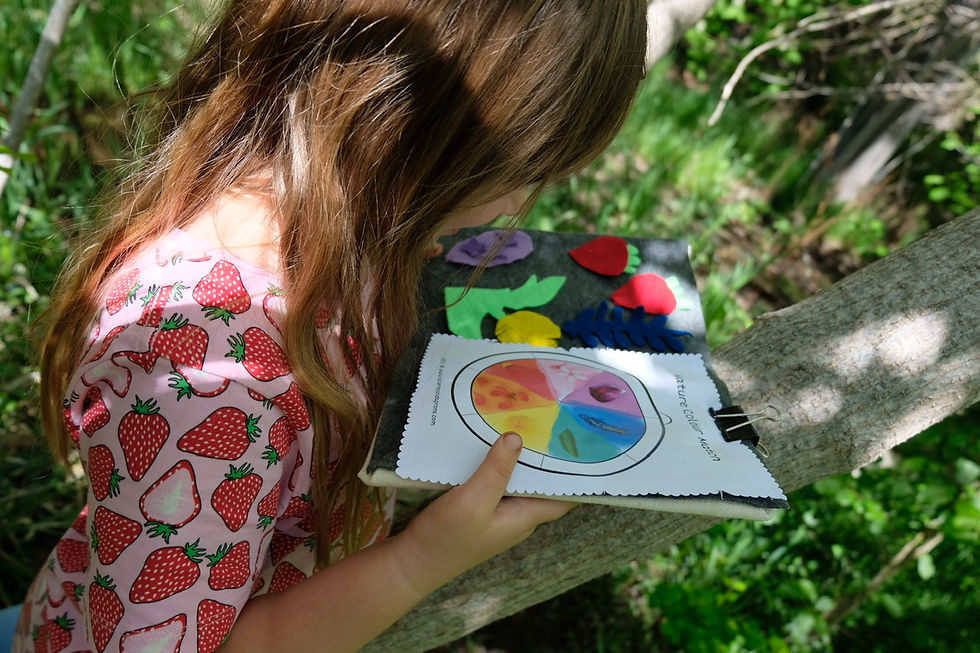
Take your nature booklet on nature walks and use it like a clipboard! Match nature colours you find to the front.
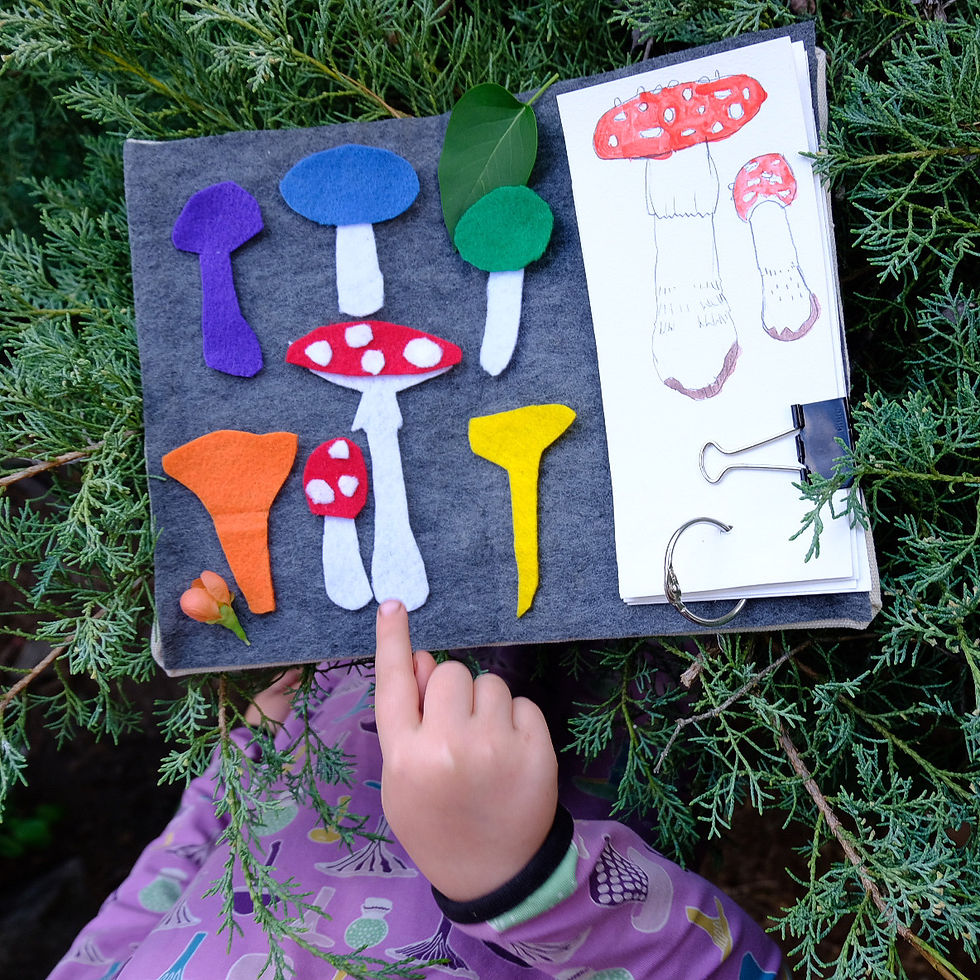
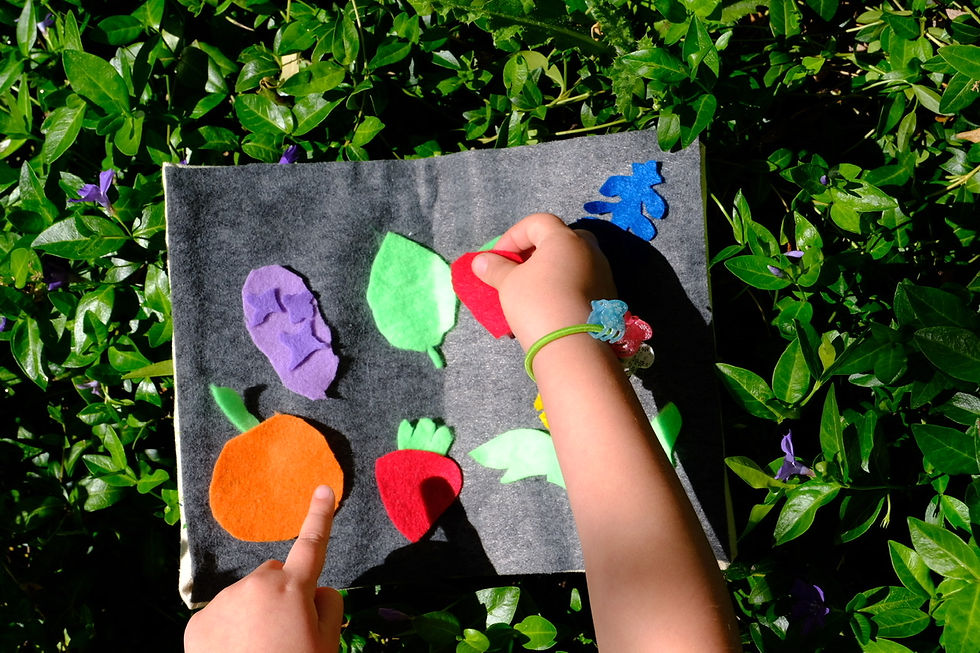
By placing the felt on the inside, you have made a felt board!
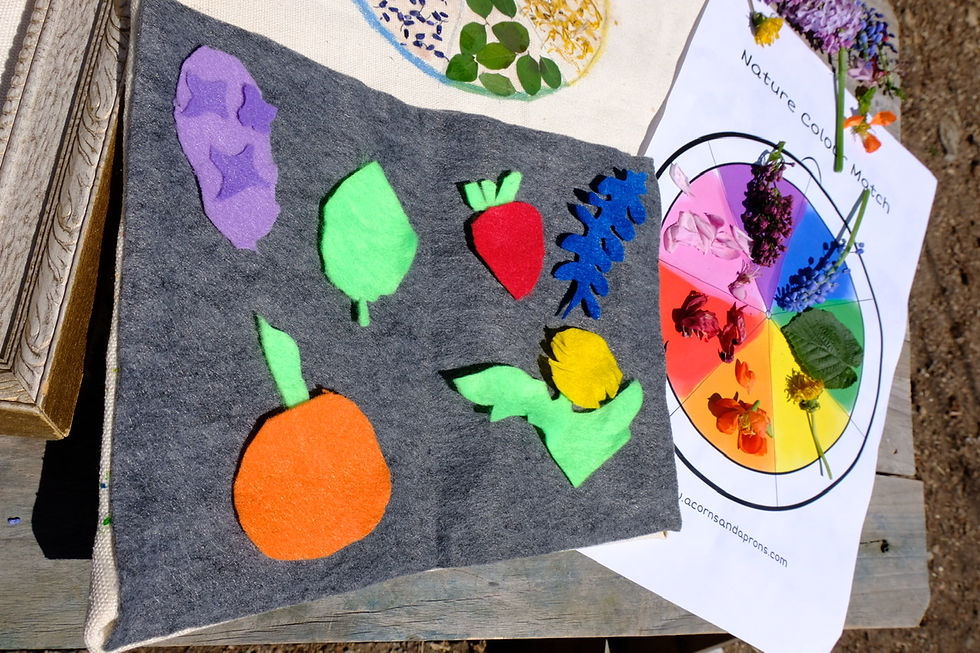
Cut out different coloured objects that you see in nature and create a felt colour board.
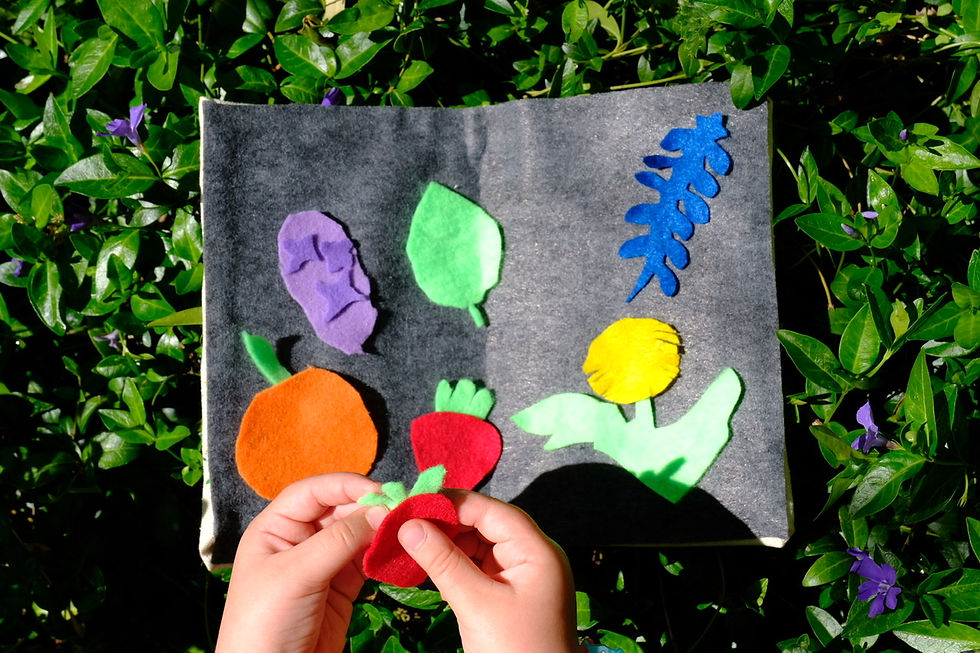
Use the felt pieces and board as a fun storytime narrative, a colour matching game or as a learning tool to learn words, colours and shapes.
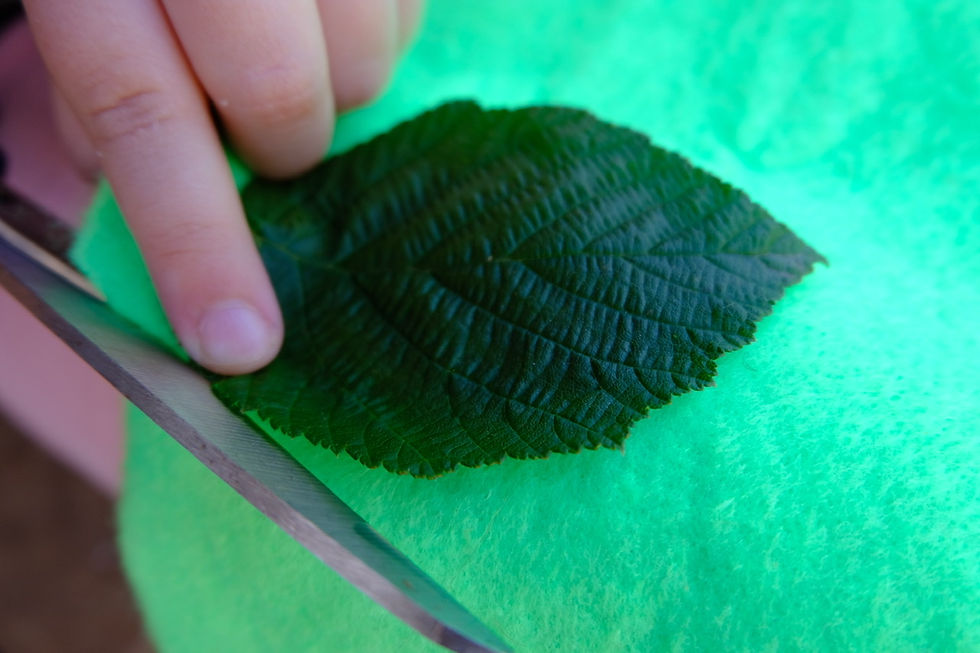
You can cut out felt shapes you see directly in nature, like this leaf!
Take the booklet outside and enjoy observing and recording using your unique booklet!
Make it your own! Add your name or favourite things to your booklet. Glue on a little pocket to hold your felt images, if desired.
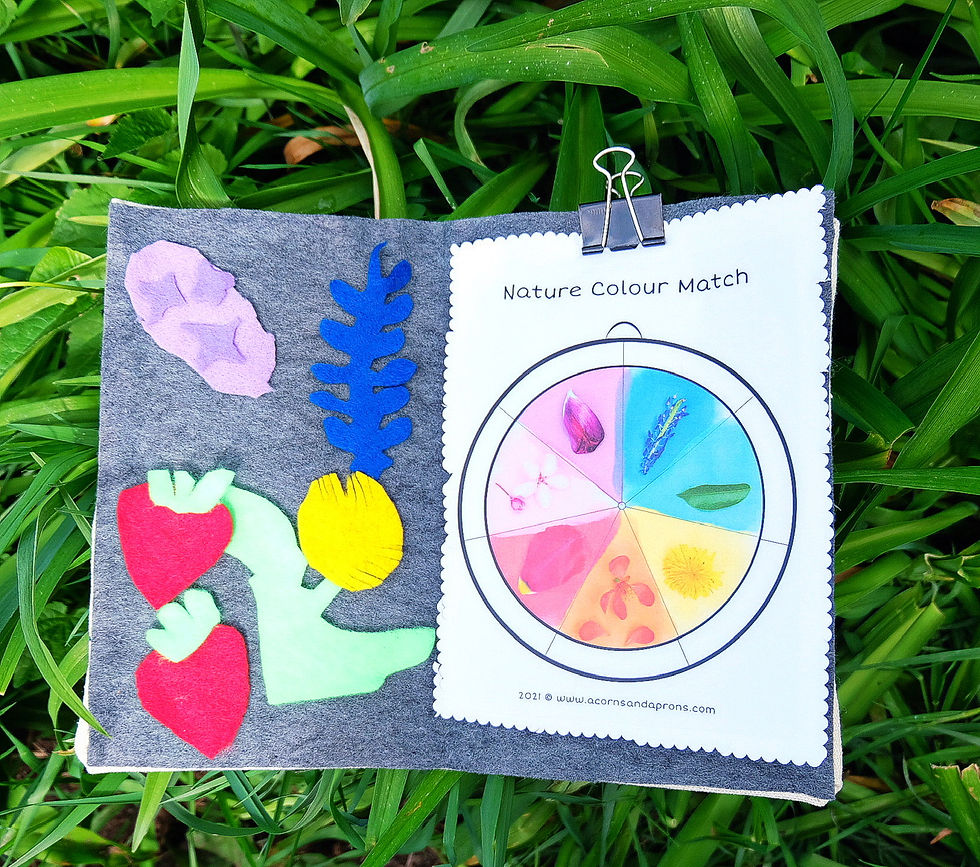
Use the clip that holds your booklet closed to hold pieces of paper when it’s open. That way it can become a clipboard.
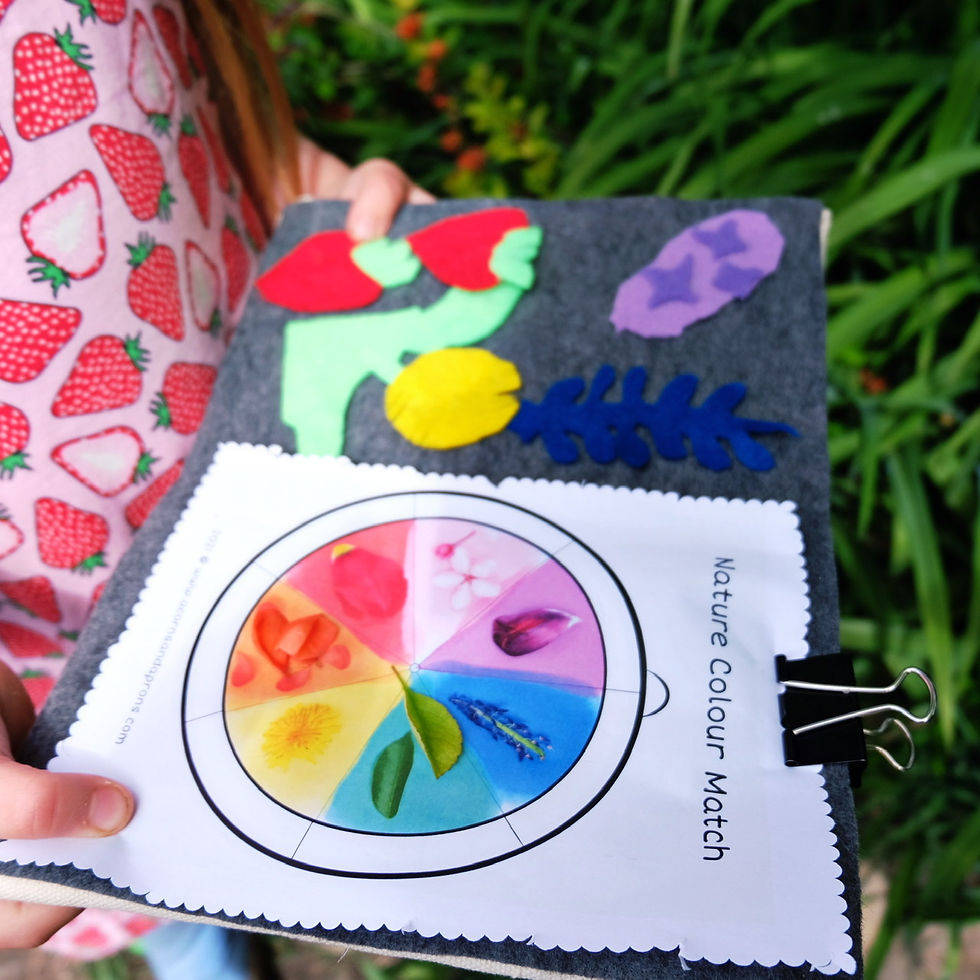
We printed out our free nature colour match - colourwheel to bring with us on a nature walk! We printed it off half the size to fit into our little booklet.
Charlotte (age 6) made all of these felt pieces from objects she saw or knew about in nature.
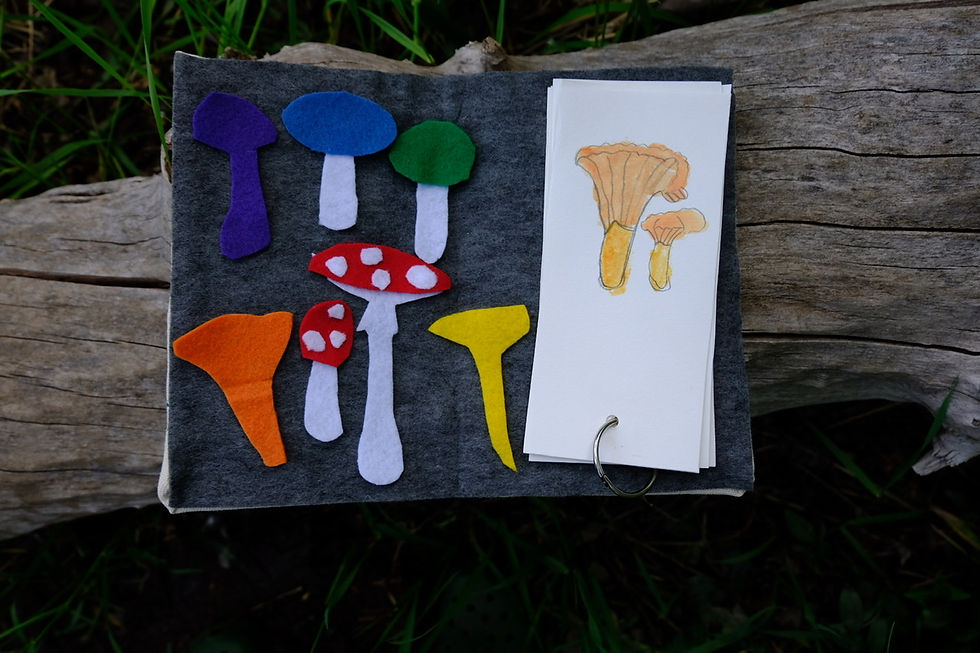
You can also use our free rainbow mushroom printable (under our printables section) as a template to create these rainbow felt mushrooms, they are depicted from real wild mushrooms.

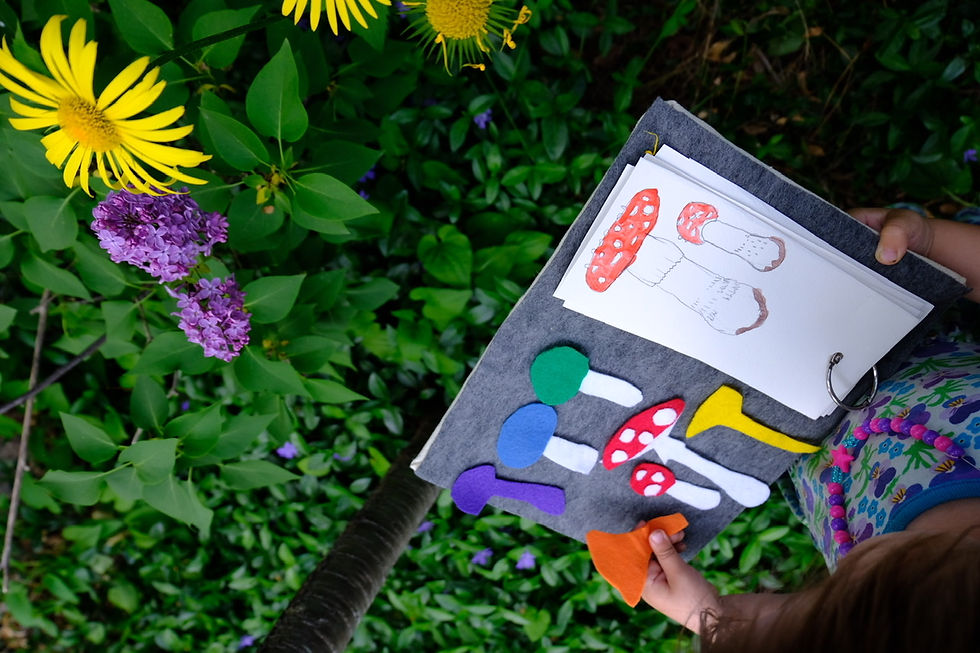
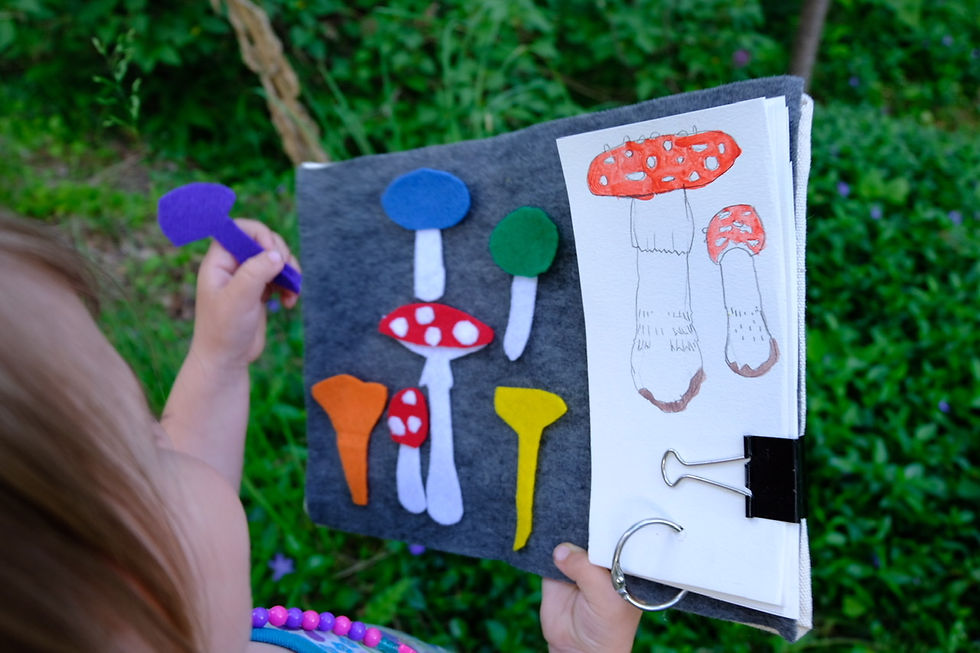
Some of the many ways we use this nature booklet:
Draw - with any kind of paper
Write on lined paper using it as a clip board
Observe and Record
Colour Nature Hunt
Use it as a felt board
As a nature journal
Use it as a customized book cover
Learn numbers, shapes and colours
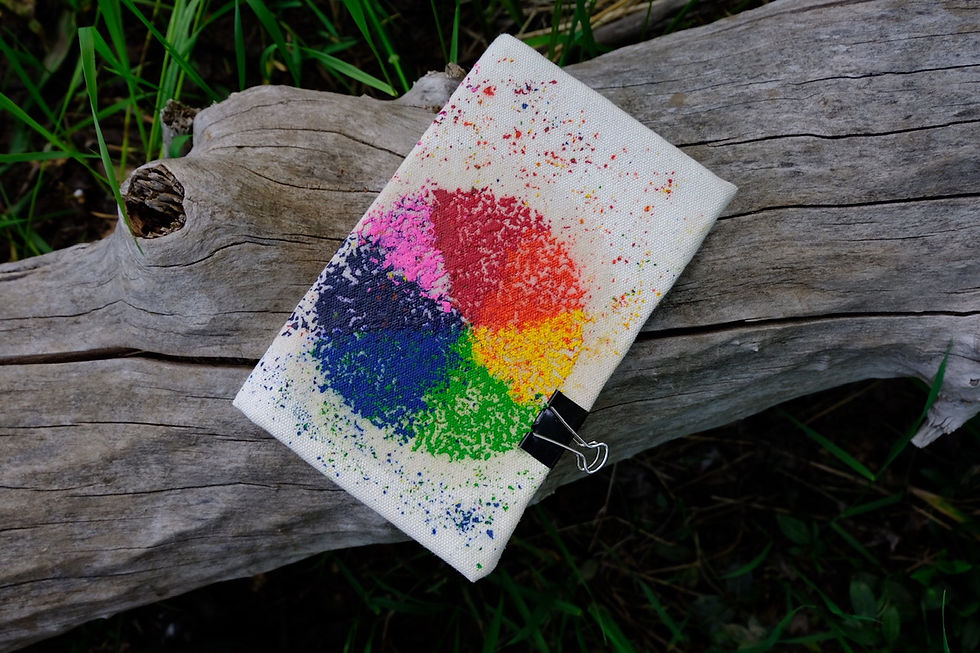

We hope you have fun creating this little rainbow nature booklet that can be used as a clipboard, a journal, or felt board. It really is a special booklet to take on nature walks.
This is an Acorns and Aprons Original idea. Feel free to follow and tag us on Instagram @acorns.and.aprons if you create this cute rainbow wheel nature booklet - we might end up sharing your creations to this blog or our social media.


Comments