

- Nov 16, 2020
- 3 min read
Updated: Dec 24, 2021
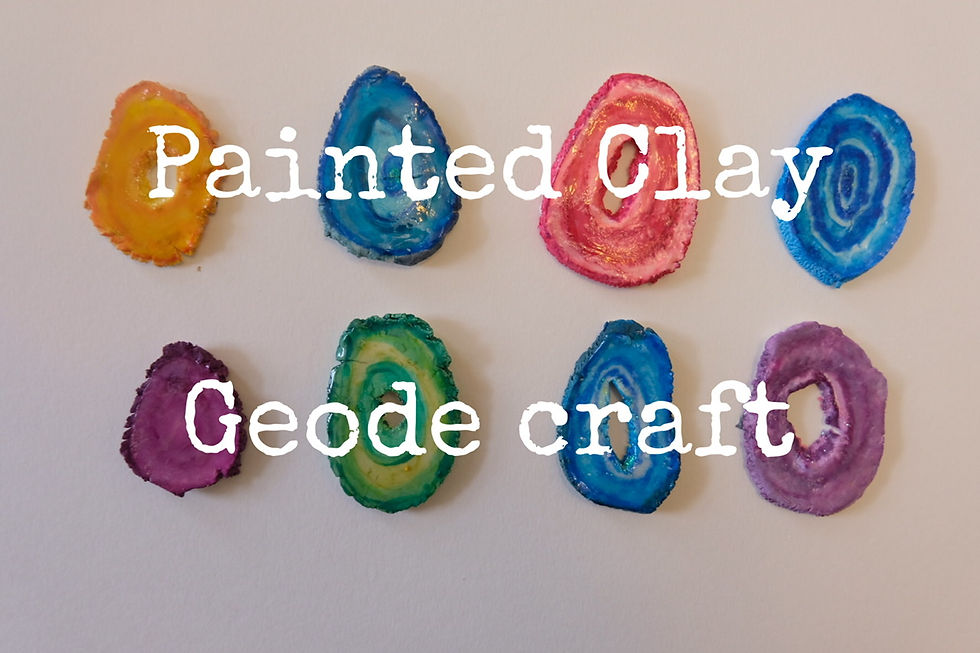
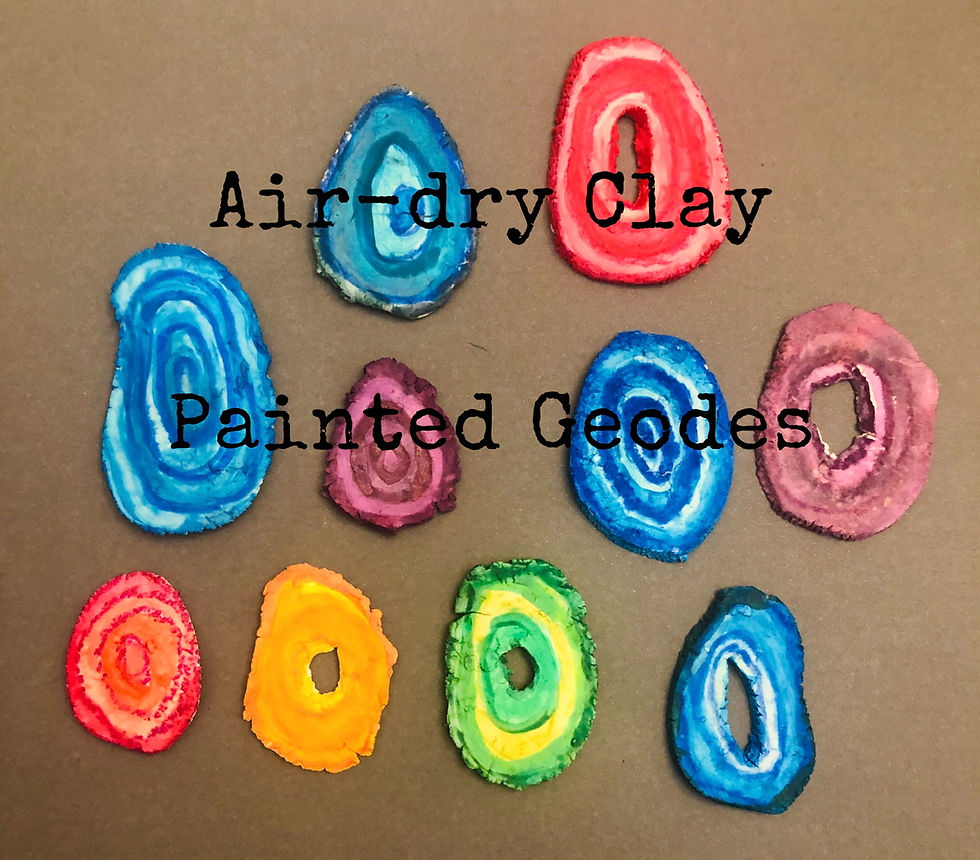
This fun and colourful clay geode craft makes a nice Christmas tree ornament to gift every rock lover you know - or just make them for your own tree. You can also put a magnet on the back and it can be used as a hip fridge magnet. It’s so convincing you could display the fake geode with your rock collection and confuse all of your friends. It also looks great as a colourful art geode in an indoor fairy garden.

The geodes can be made with any white air drying clay found at a craft or art store. If you have some extra time and don’t feel like going to the store, you can make your own homemade air-dry modelling clay at home with only two simple ingredients found in your kitchen cupboard.
This craft is a two day process because you need to shape the clay into cut geode shapes and allow it to fully air dry for roughly 24-36 hours before you paint it.
Steps to make easy homemade air-dry (baking soda) modelling clay at home;
Ingredients :
2 cups of baking soda
1 cup of cornstarch
1 1/4 cups of water
TOOLS needed:
- a pot
- a measuring cup
- a wooden spoon
- a rolling pin
- a butter knife
Instructions:
Put all of the ingredients into a pot and mix them together slowly with a spoon on medium heat until it turns into something that looks like mashed potatoes. Remove it from the heat. Wrap the clay in a damp cloth to cool or place it in a bowl covered with a damp paper towel or cloth. An adult should be the one mixing the clay on the stove, it gets very hot and needs to be stirred constantly so that it doesn’t burn. Be patient, it takes about 5-10 mins to form and will look very watery at first (like the 4th photo) and you’ll think you did something wrong. So, be patient and wait for it to thicken up on its own.


When it is cool enough to touch you can begin to roll it out and work with it.
How to make the clay geodes:
Materials:
air-dry clay or baking soda clay (instructions below)
washable markers or crayons
watercolour or acrylic paint
paintbrushes
container of water to clean the brushes between colours
STEPS:
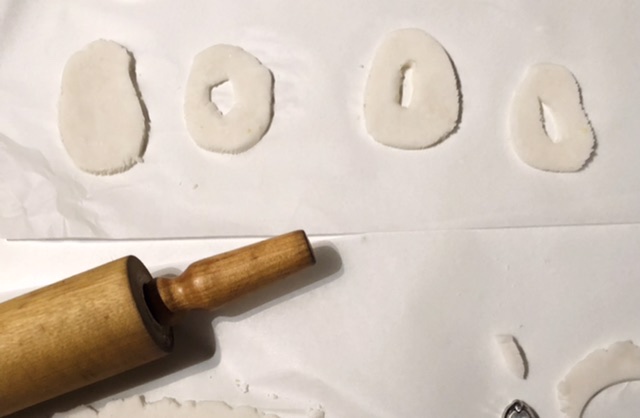
1. Roll out the clay using a rolling pin. 1 cm thickness is best because the thicker you make it the more likely it is to crack while drying. Make sure to remove any cracks or air bubbles before it dries by rolling it flat.
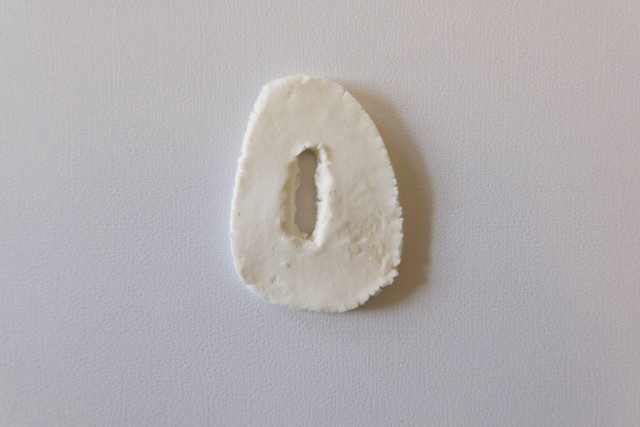
2. Cut out rough oval-like shapes using a butter knife. Making them as big or small as you’d like. We varied the sizes. Make a middle hole in some (or all). Creating rough edges is fine and contributes to the shape of a geode.
3. If you are using them as hanging ornaments then make a small hole at the top of each one for the string, or use the middle hole to put the string through.
3. Place them on a drying rack and leave them to dry overnight. You may need to let them dry longer depending on the thickness. If you don’t have a drying rack just place them spaced out on wax paper or on a cooking sheet until it dries. Turn them every once and awhile so that both sides dry evenly. It might take 24-36 hours to fully dry. Once it’s dry it will be super hard and won’t break very easily.

STEPS on painting the clay to look like a cut Geode:
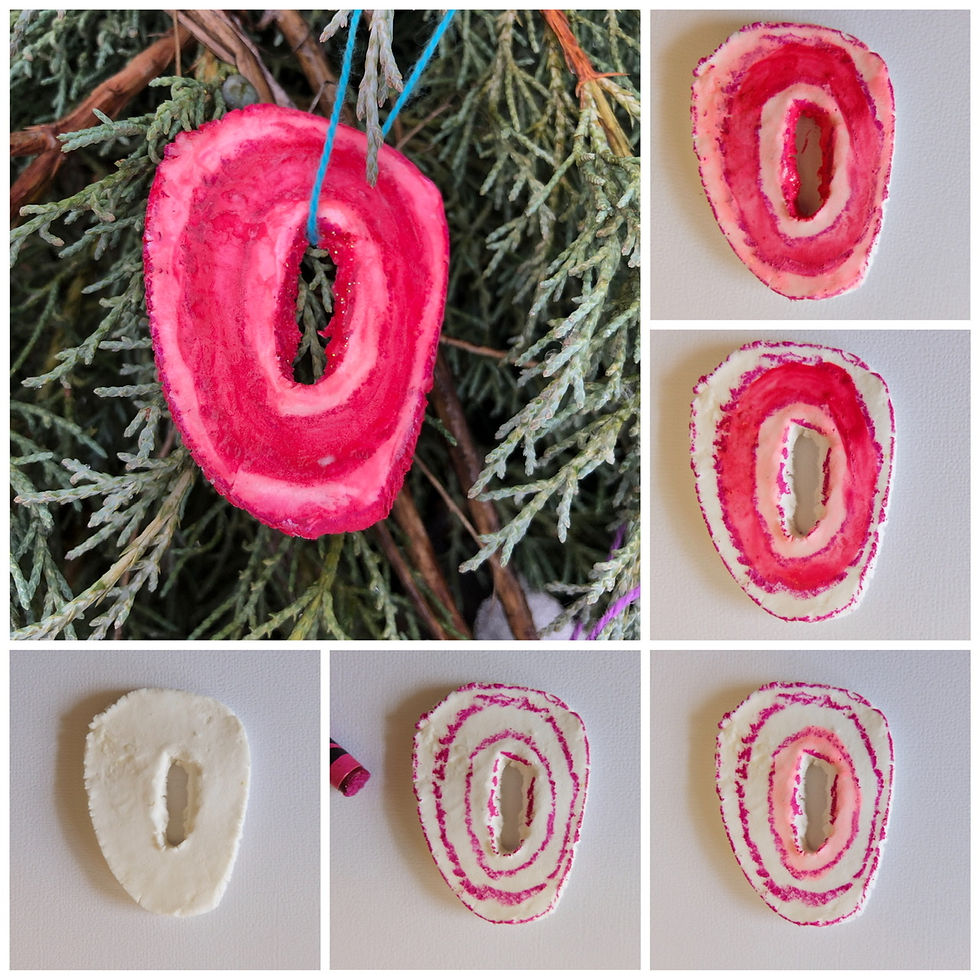
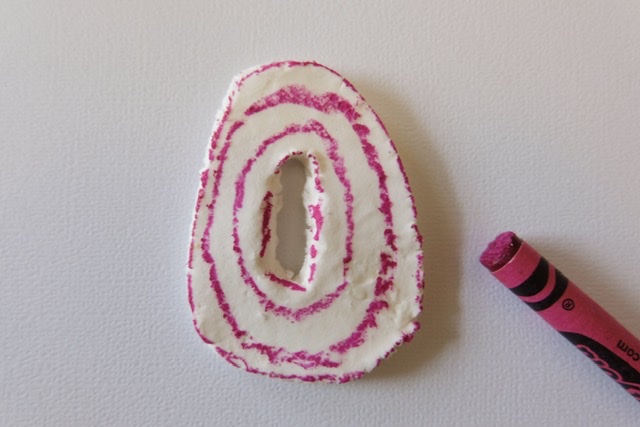
Use a crayon or washable marker and make a few circles on the clay geode cutout (like the picture below). Crayon will keep its shape and will not bleed, but the washable marker will bleed when painted. Both effects look great. Experiment with what you like the most.
Use watercolour paint or acrylic (we used watercolour for these ones but have used acrylic before too) and start painting each individual circle a different colour or a different shade of one colour - depending on what colour geode you’d like to create. The picture below has alternating pink and red Watercolour paint.
Paint the outer edges and inside hole to finish the geode and allow the paint to dry.
When the paint is dry you can add some bio-degradable sparkles to the middle if you’d like or add a clear gloss finish. (This ornament below has both sparkles and a glossy finish on the last photo.)


We hope you enjoy making these ornaments as much as we did. Follow us on Instagram @acorns.and.aprons and tag us if you make this craft, we’d love to see your creations!


Comments